|
If you find yourself in need of a last minute appetizer, fear not. You most likely already have the ingredients on hand to make impressive little bites. 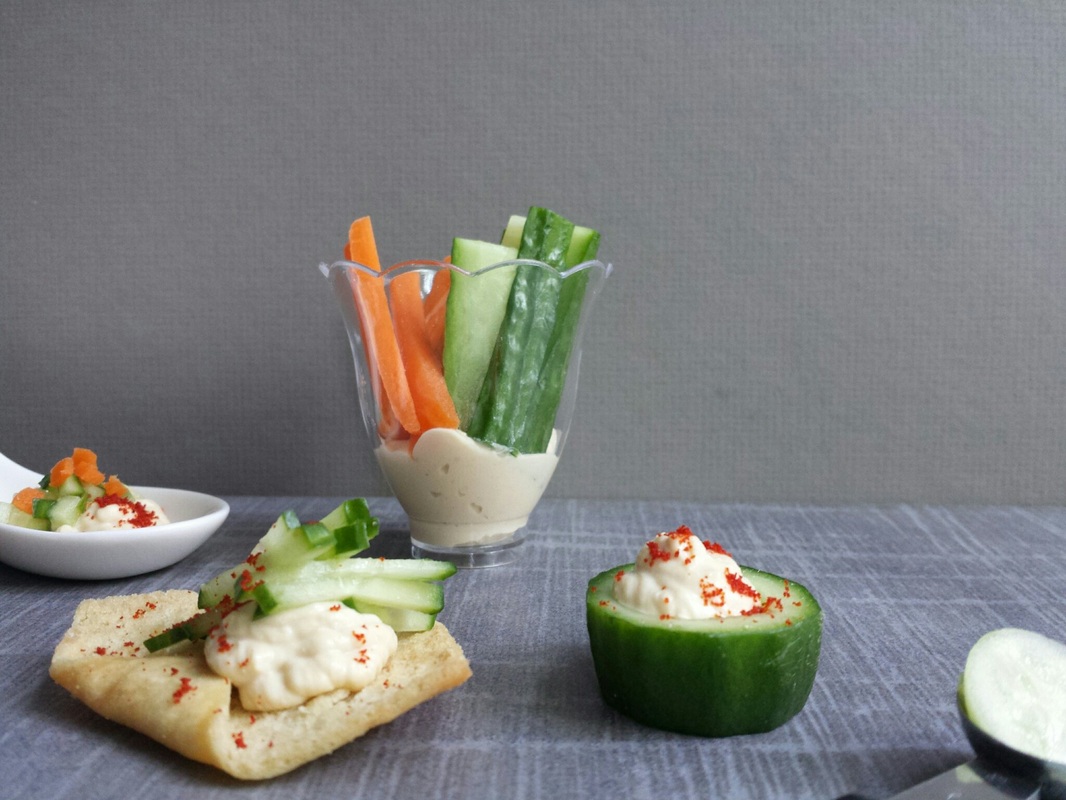
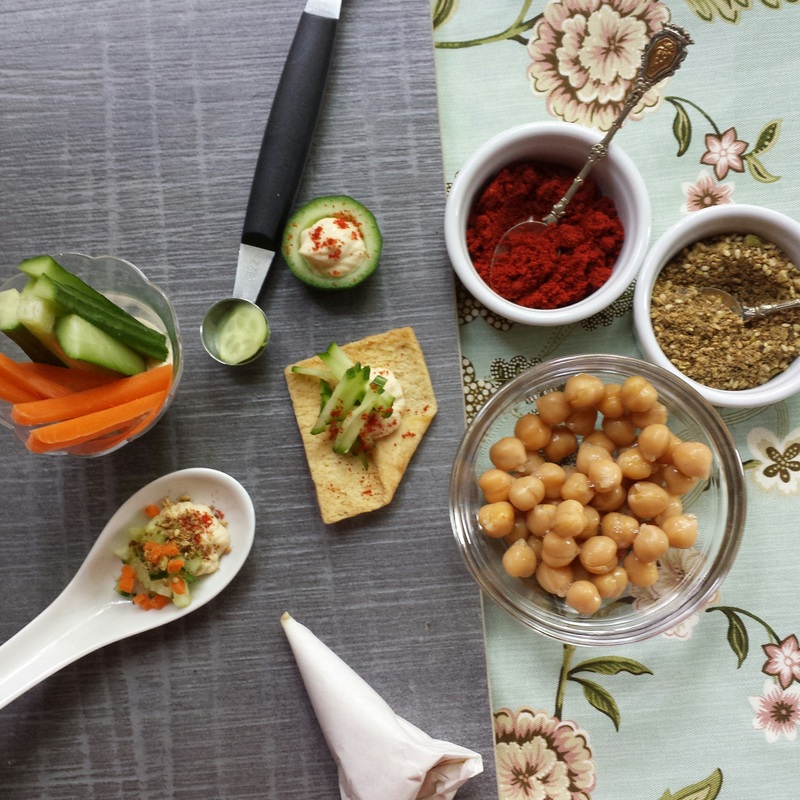 Use a pipping bag to get a more finished look and garnish with smoked paprika, dukka or spiced chickpeas. Just remember - Presentation is Everything {pistache}
Basic HummusAdapted from Jerusalem by Yotam Ottolenghi and Sami Tamimi Serves 6 3 2/3 cups Chickpeas 1 cup Tahini Paste 4 Tbsp Lemon Juice, freshly squeezed 4 cloves Garlic, crushed 6 ½ Tbsp Water, ice cold Salt Place chickpeas in the food processor and blend until you get a stiff paste. With the machine still running add the tahini, lemon juice, garlic, and 1 ½ tsp salt. Finally, very slowly add the ice water and allow it to mix for about 5 minutes until you have a very smooth and creamy paste. Transfer the hummus to a bowl and cover. Allow it to rest for 30 minutes before serving. If you are not using it right away, place in the refrigerator but allow it to come to room temperature for 30 minutes before serving. I was so lucky to have Elisa Elliot, photographer and master story teller, to record some of the memories of our Ice Cream Social. It is her beautiful work that starts off this post on building a toppings bar and it puts me in the mood to shop for candy! 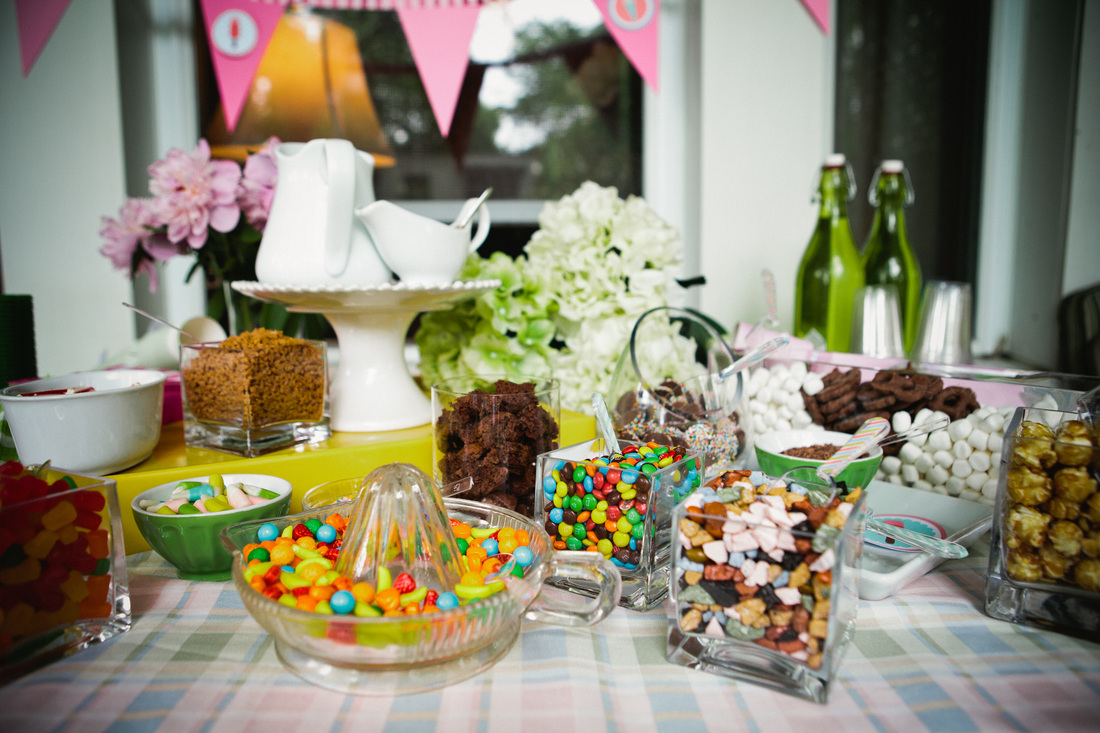
Photo by Elisa Elliot
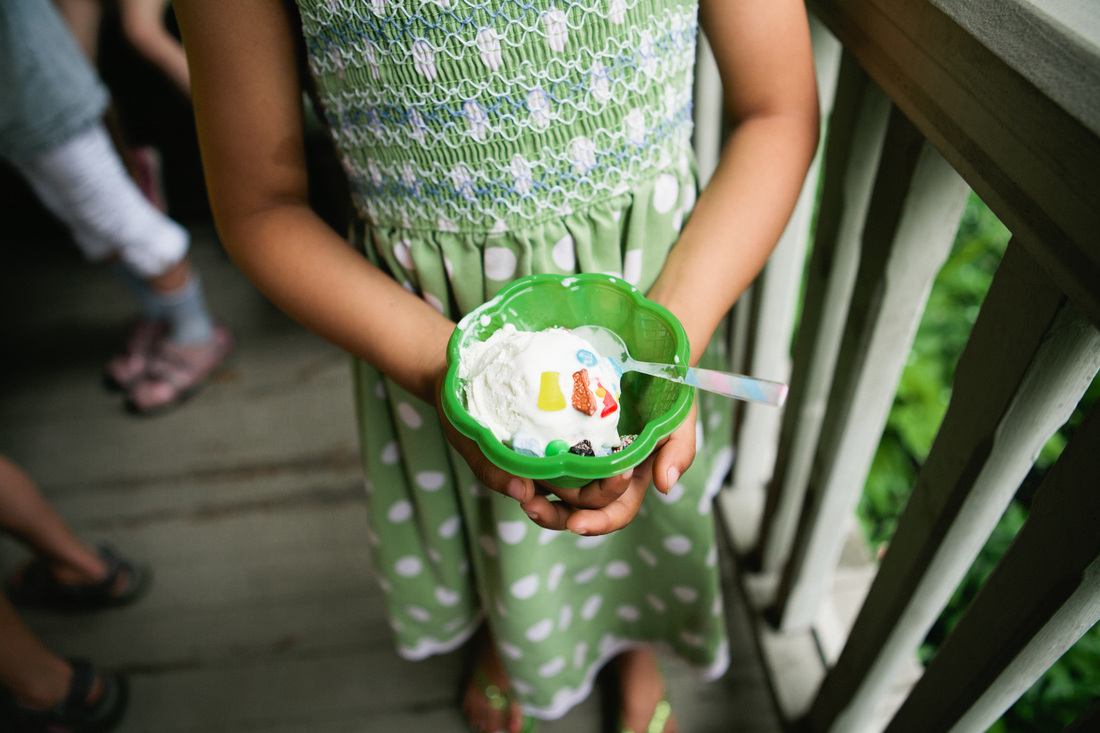
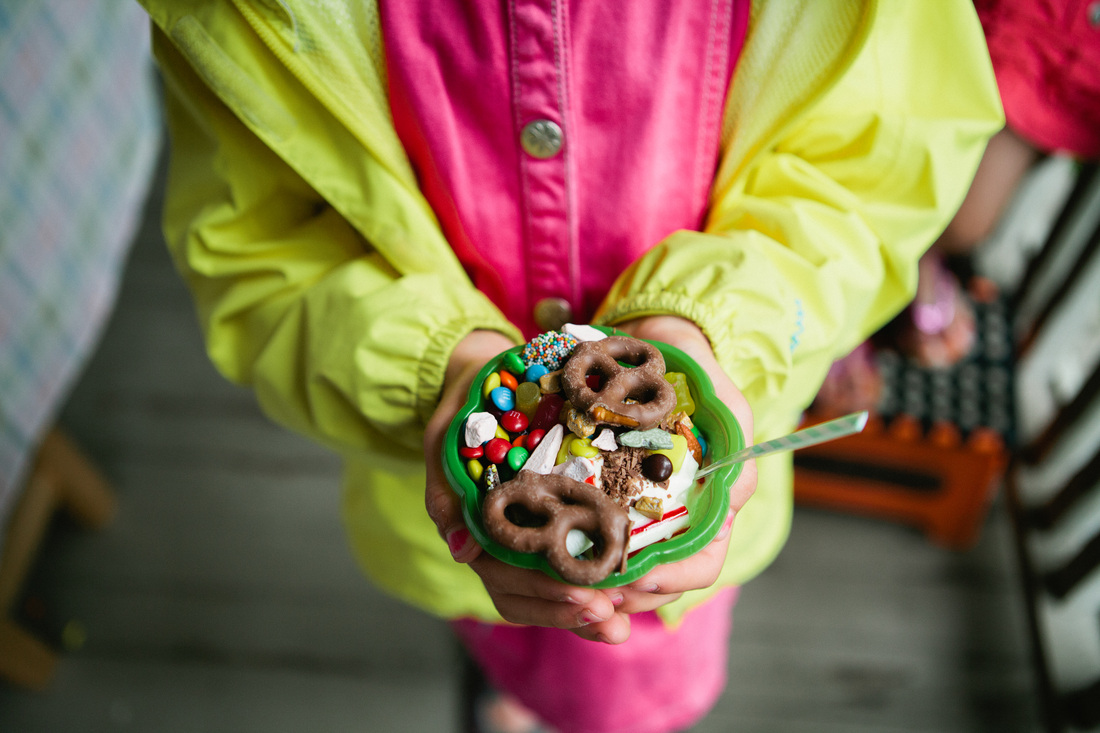
Now if you don't have little people to help you choose the toppings, you will have to tap into your inner child and think of the biggest and best ice cream sundae that could ever be - those are the toppings you want to include.
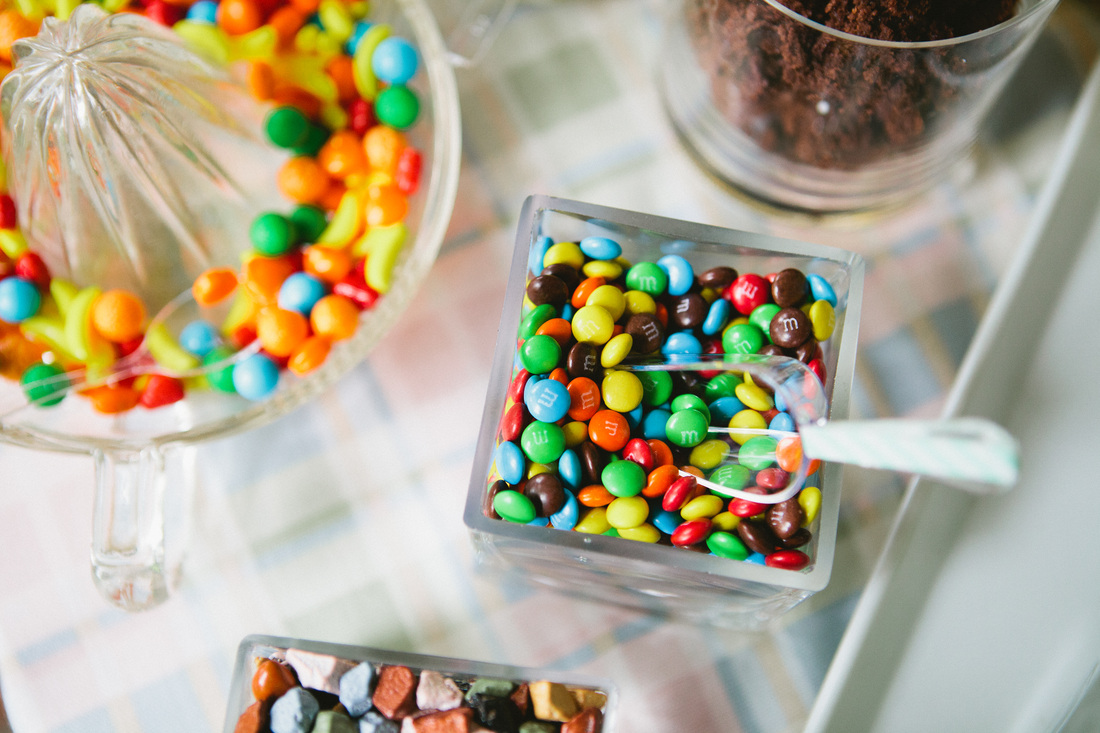
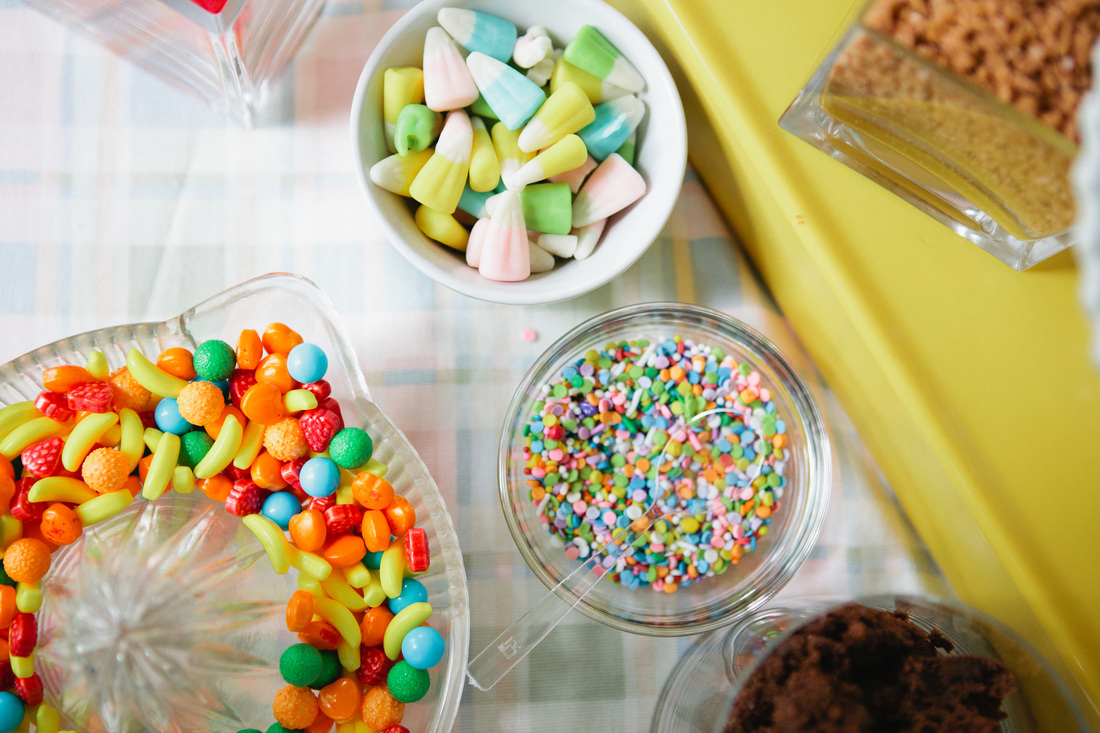
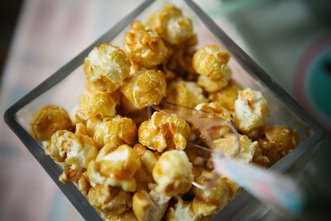
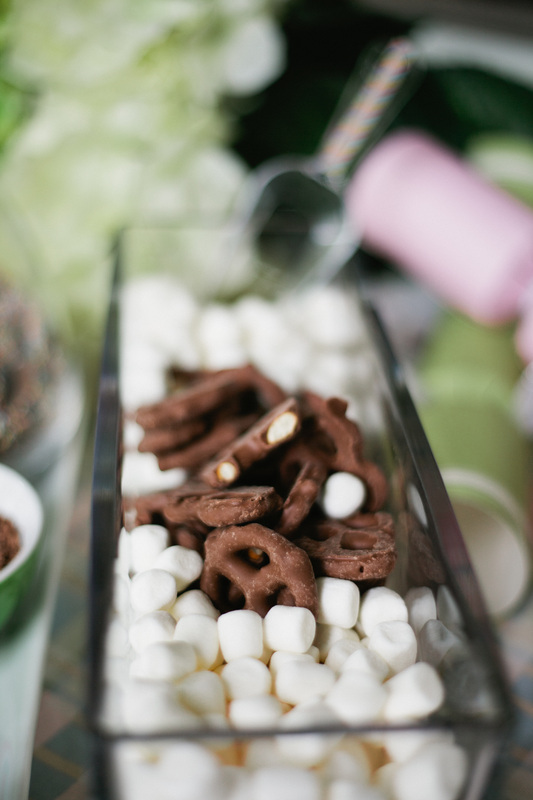
Your bar should include something chocolate, something crunchy, and something sprinkly. How many of each is completely up to you but as they say variety is the spice of life. And of course, there must be chocolate sauce. Feel free to add caramel, strawberry, and pineapple if you want more of a banana split feel. If children are invited I would leave out items that contain nuts. I like to mix purchased and prepared items, so I made the chocolate sauce and brownies but left the Salted Caramel to Genevieve Grandbois (a local chocolatier}. And while you can pick up several things at the local bulk barn, it is nice to have some more sophisticated items as well.
Finally, the fun thing about a bar of any sort is the variety of containers and heights that you use to display your items. I tried to stick with glass and porcelain but played with the shapes of containers that I used from a square vase to a retro lemon juicer. Pistache always says that you eat with your eyes first, so make sure to give the toppings visual appeal. I am including a checklist for your next ice cream social. You just have to print out the invitations from my last post and get to shopping! Click here to download your checklist!
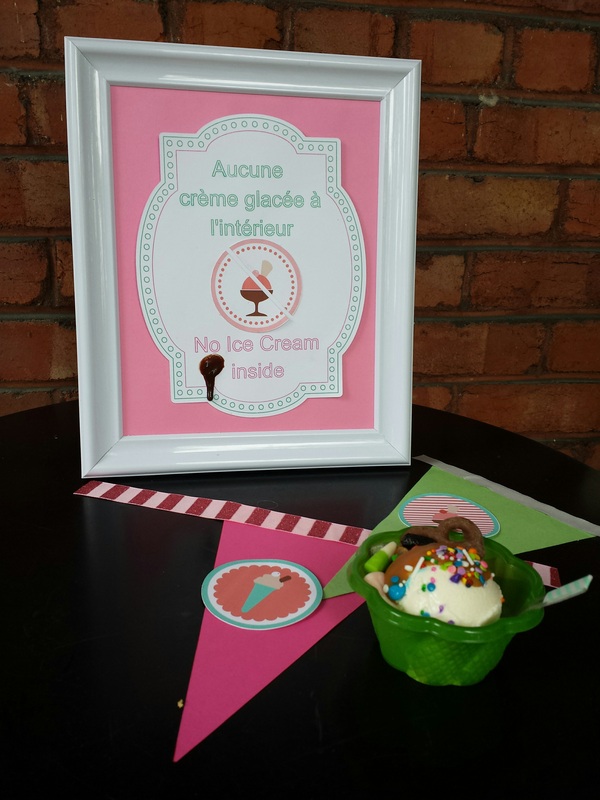
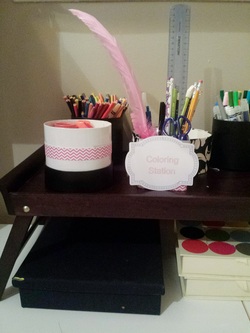
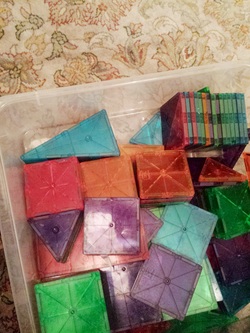
 This year, I wanted to welcome summer with an ice cream social. The idea was to get together with friends one time before the crazy schedules of summer took over. What I envisioned was something like this... 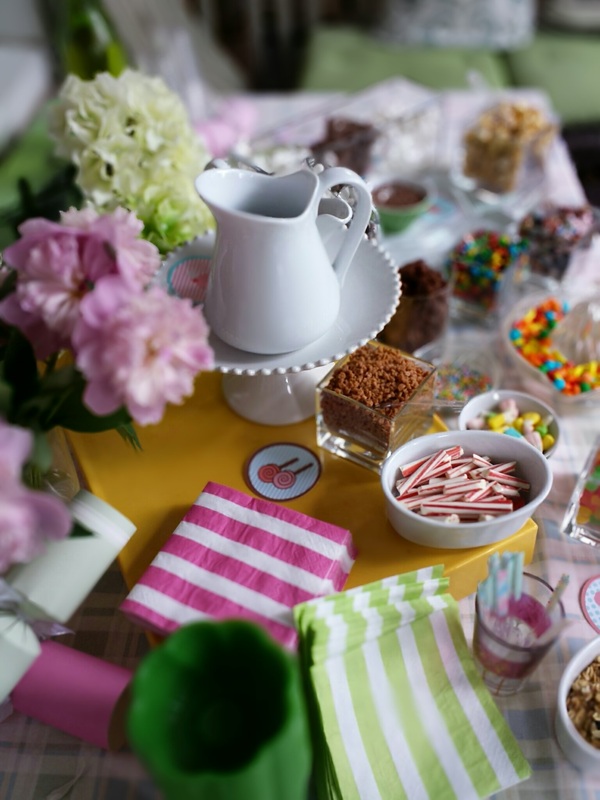 But there are several steps between idea and event and along the way there is plenty of room for distraction. The first thing for me is always the guest list and the invitation. With young families on the list the numbers increase very quickly. Keeping it under 50 people seemed daunting at first but once the replies came back that a couple families were vacationing we ended at just under 30 people. Invitations were simple with a retro twist. I made a template in case you are inspired to host your own. Click on the image below to download the template. 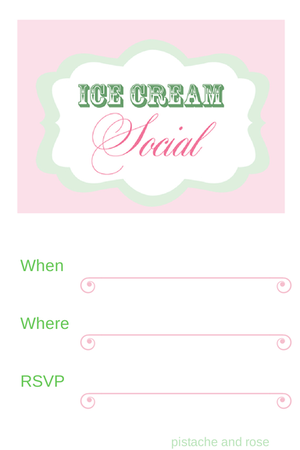 All plans require a back up plan. The original plan was to make ice cream sundaes for an hour and then head to a local water park to occupy the kids and give the adults time to socialize. However, I have not been able to bend the weather to my will on every occasion so a back up plan was in order. The secondary plan was to have a range of activities set up inside for the kids after they finished their ice cream. Which plan did we go with?
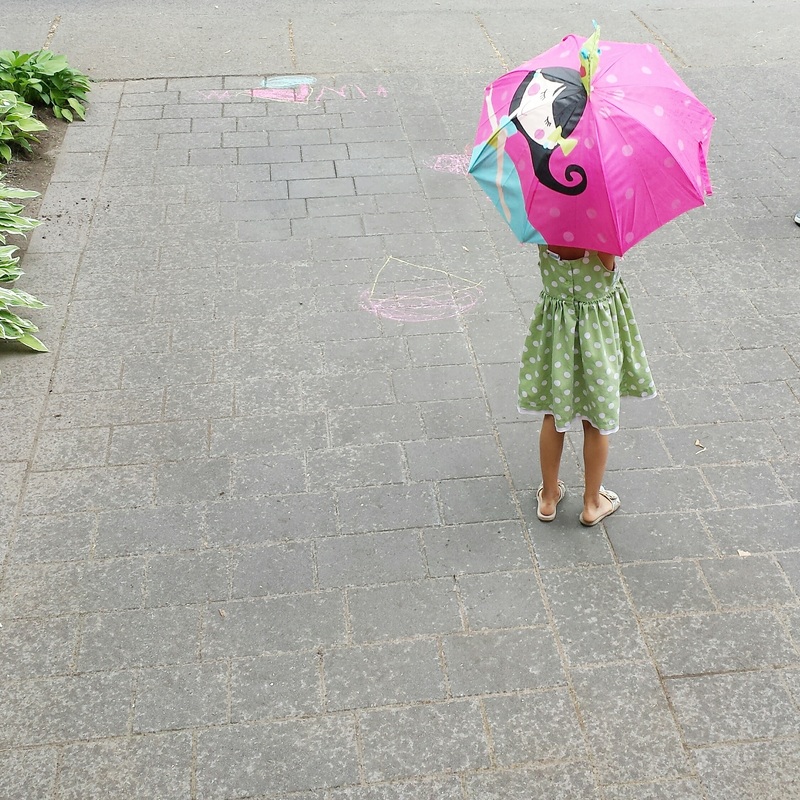
Sometimes the best thing to do at an event is go with the flow. All of the guests enjoyed the party. The adults were able to talk with old and new friends. The kids had a great time inside and outside with lots of running around in the rain. And I was very happy with the way everything turned out.
If you are curious about how the Ice Cream Bar turned out, come back next week for the next post - Building An Ice Cream Bar! |
Archives
November 2019
|
||||||||||||||||

 RSS Feed
Photo used under Creative Commons from emilykneeter
