|
Birthday party design can be a challenge, especially for kids. They tend to be set in their ways and only want what their friends like. So even if they have been to 20 Princess parties, there are some little girls who just want a princess at their party too. Well not this little girl! {I mean mom...} 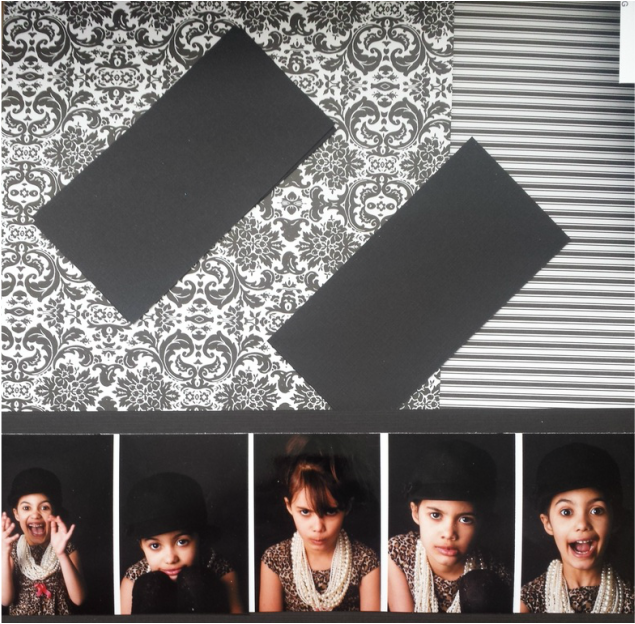 Our son's birthday is half a year away from his little sister's, so they each begin planning as soon as the last guest has left their sibling's party. So Mid-October, someone decided "Fashion" was the theme this year. Up until the planning of the actual event, she was pretty set in her theme. When we got down to what a "Fashion Birthday Party" meant, we had a slight difference of opinion. Theme and Inspiration
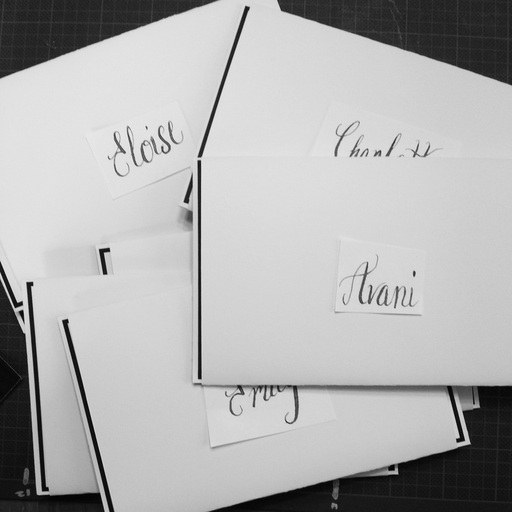
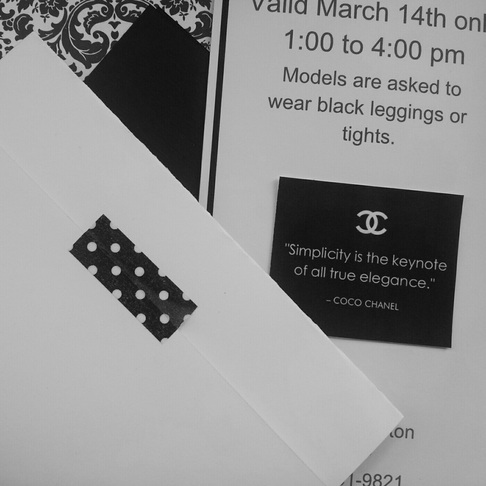
Invitations With a more concrete idea in my head, I start to work on the elements of the event. First, the Invitations. They were inspired by backstage passes that I found but I kept it simple and monochromatic. After all they are really more for the enjoyment of the parents than the children who can barely read. Handwritten names in calligraphy gave the invitations a sophistication. I used a variety of white and black patterned papers on the front of the invitations, that I planned to carry into the decorations. The back was straightforward; when, where and a little what to wear {added to prevent princess costumes}.
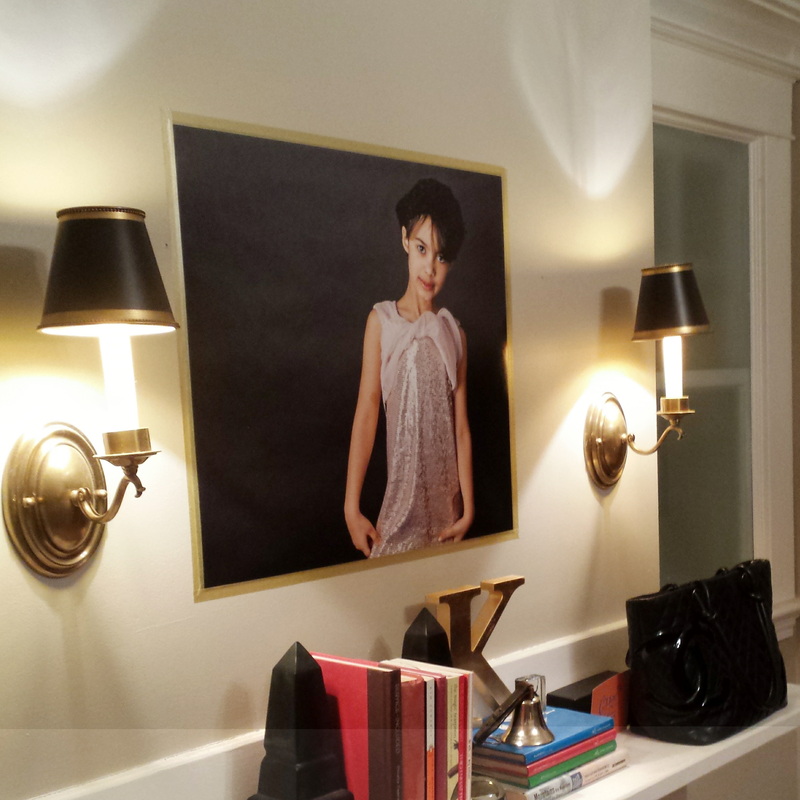
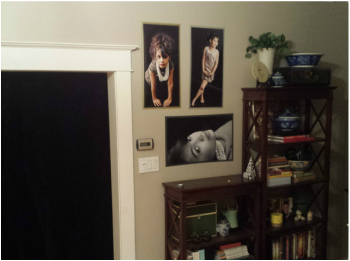
Decorations
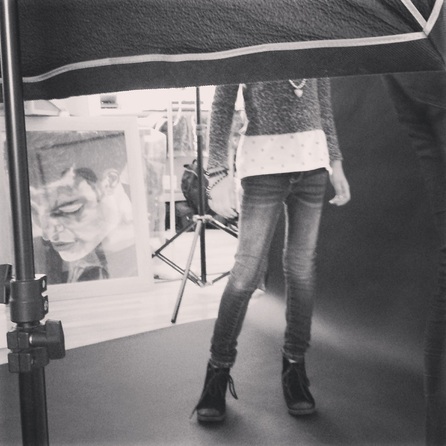
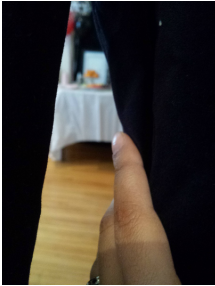
Once the photos were hung, the space began to look more like a studio. Curtains were hung in an archway for the show with a red "carpet" for the girls to walk down. A photographer and mommy "paparazzi" were given a space at the end of the carpet.
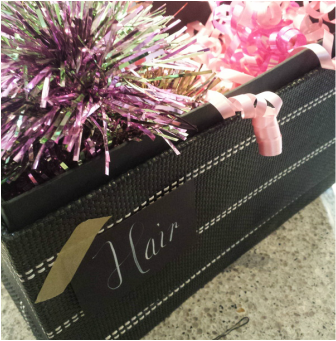
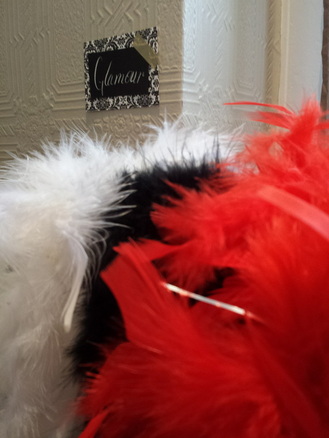
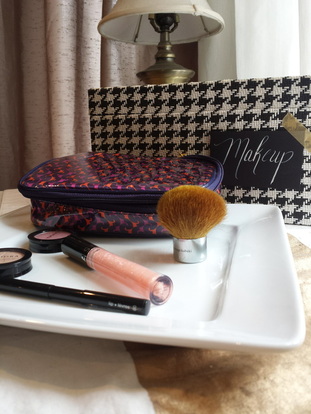
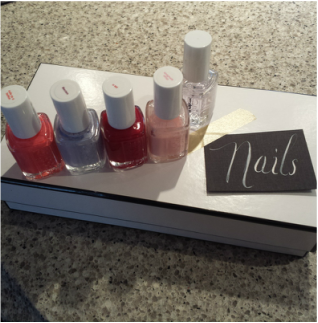
The Main Event Little girls were whisked behind the curtain and their makeovers began. From a little sparkle added to their cheeks and lips, to accessories to spice up their look. We basically turned out dining room into a very large tickle trunk and let the girls play dress up. {Snacks were available throughout} 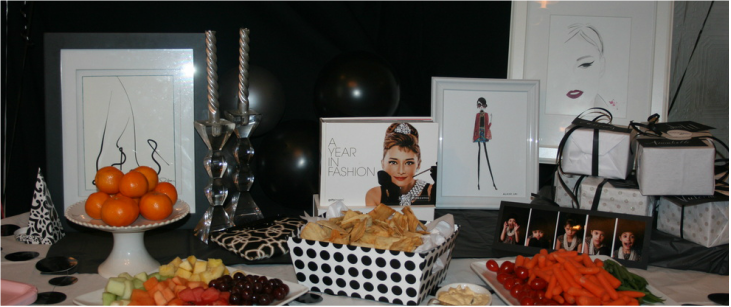 The stations that were set up behind the curtains to get the girls red carpet ready became part of the decor of the event so we kept them to theme in mostly black and white.
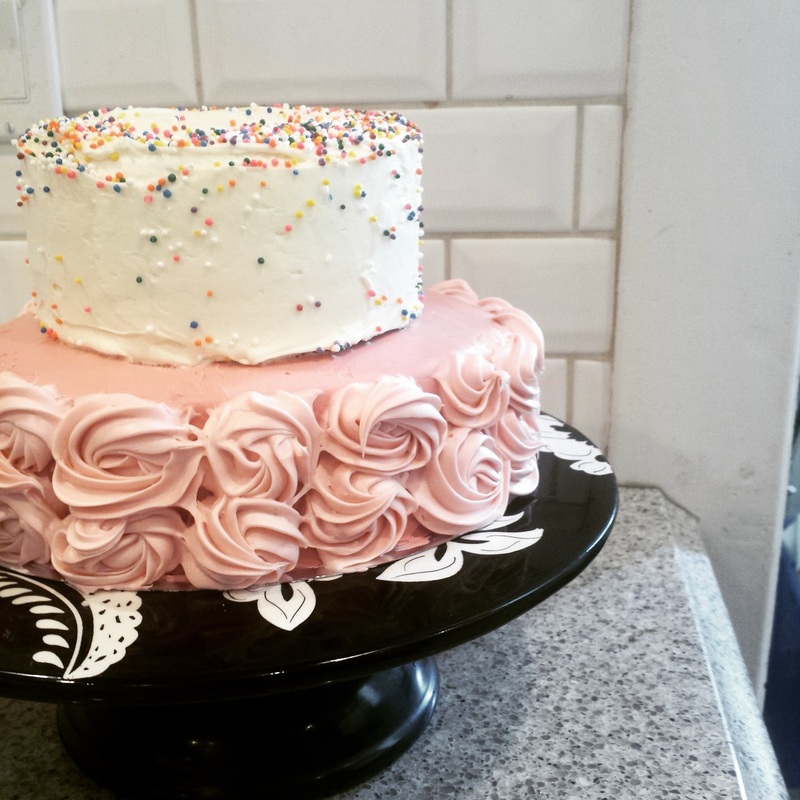
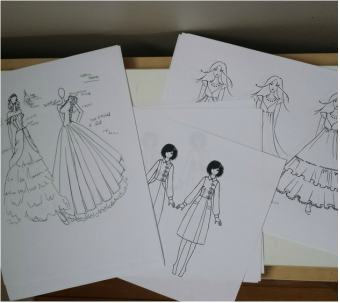
When they were ready, we sent them out to the red carpet and the awaiting paparazzi. {Make sure to take the parents' emails to send photos of their child}. Once the girls were fashioned out, we moved onto the traditional birthday party schedule of events. Presents, cake, and optional craft. The craft was coloring black white drawings of dresses from different eras in fashion.
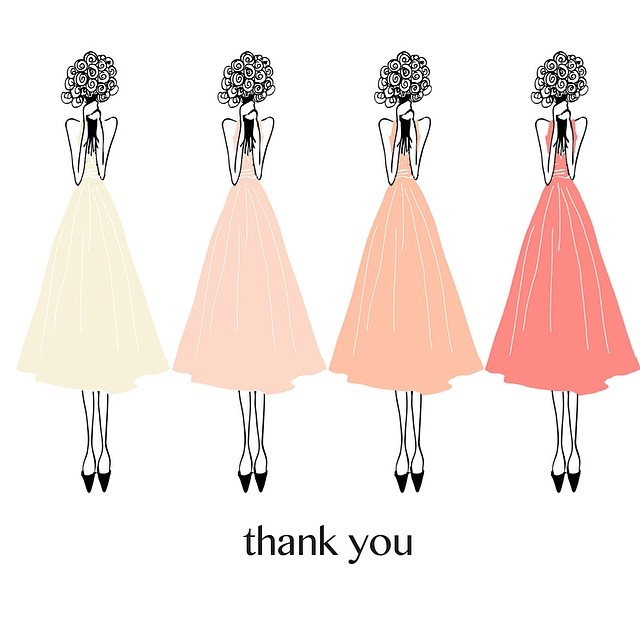
Final Touches Thank you gifts were filled with cookies and cream cake pops covered in white chocolate and a small square of temporary tattoos {the tiniest bit of Frozen}. They were then individually wrapped in white tissue paper with black ribbon. I really like the idea of a small Thank you gift and wrapping them makes them that much more special. This isn't an event for 30 kids but I would still try and do something special if it were. 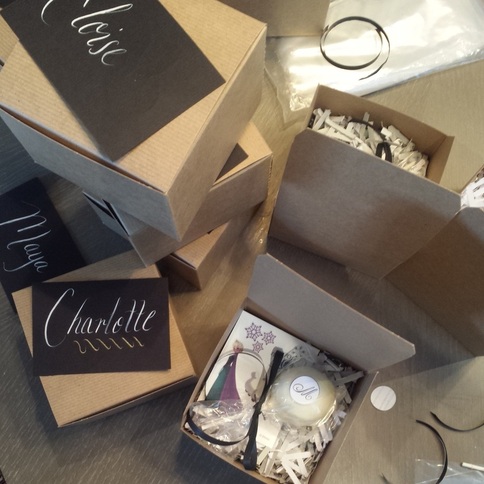 Thank you! While most of the items were handmade by Rose, we are grateful for the help from the moms who helped make the girls glamorous. As with anything many hands make light work and I think that the adults enjoyed the party as much as the girls, which made it a success in my books.
Big Thank you to Genevieve Goyette Photography for the photo shoot and the action shots at the event. If you know me, then you know that I have an obsession for paper. I collect cards in a way that makes pistache a little crazy. I thought that I would share some of my favorite card and stationary finds with you. These are strictly Pinterest finds but maybe they will find their way into my office one of these days. {Click on the photos for links to purchase or click on the company for more products}
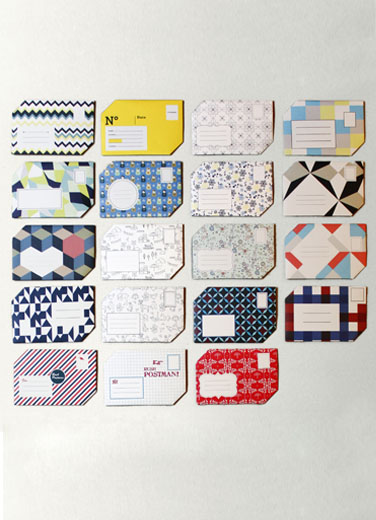
The first shop happens to be from France - Papier Tigre, and I love the way they've combined the letter and envelope. Each page is a different pattern and the instructions to fold them are included.
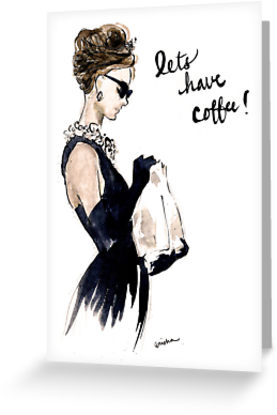
Whether you need bridal stationary or something for your favorite Fashion fiend, eighty seventh ST. delivers fabulous cards and paper. Their cards are generally black and white with a splash of color and I would be happy to give or receive one on any occasion. {hint hint}
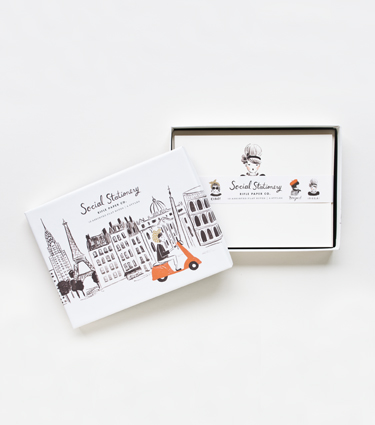
The Rifle Paper Co. is one of my absolute favorites. Their cards have gorgeous graphics that aren't too cluttered. I like that the set are in the same color themes. The social stationary makes me long to send a little note to a friend. They also have quite the range of paper products, in addition to stationary, they have wallpaper, wrapping paper, journals, and the list goes on!
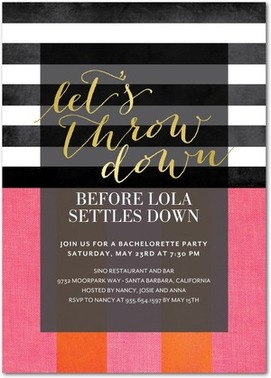
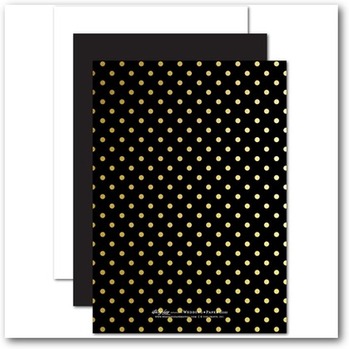
The Wedding Paper Divas, obviously they will do your wedding stationary and Thank Yous but you can always customize one of their fun designs to fit your event; plus there are polka dots on the back of this one. I would totally use them for a Fabulous BBQ.
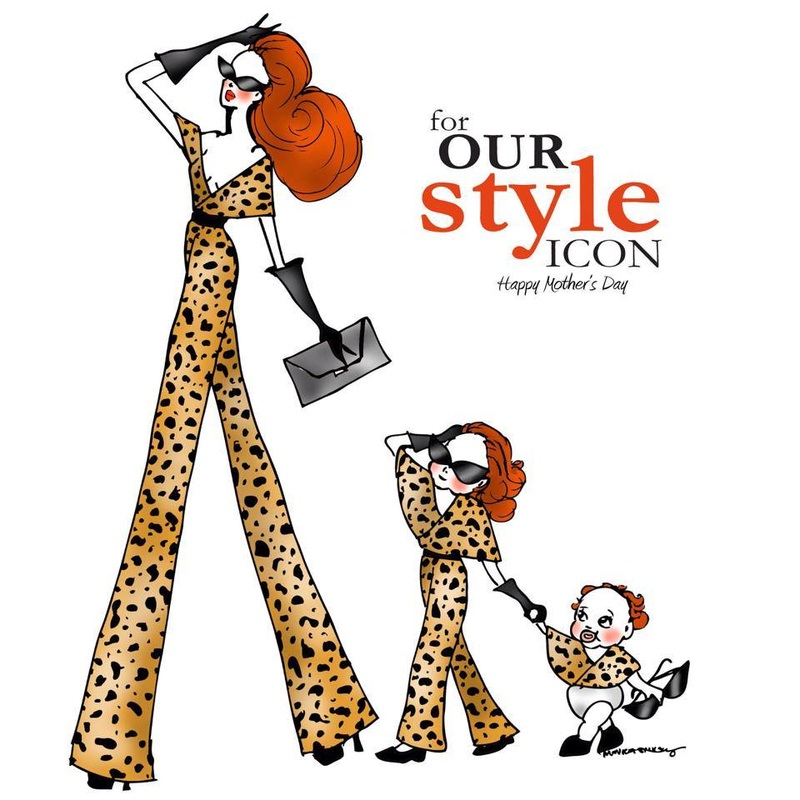
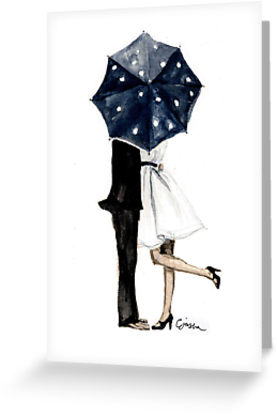
I found these lovelies on a site called Red Bubble, which hosts a variety of artists similar to Esty. Rishann is selling these cards as well as similar images on phone cases, posters, throw pillows, and t-shirts. The site is worth a look. I could go on with more finds but I am at the point of wanting to buy it all, which means I should stop. Whether you are trying to build your own collection or looking to give boxed sets, there is stationary for everyone.
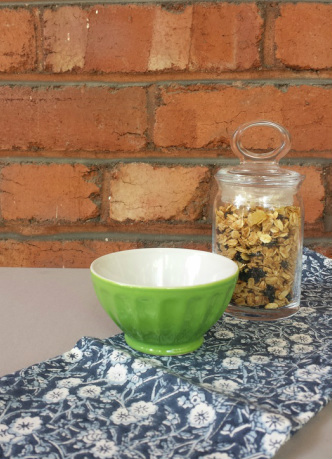
Of course, I have more stationary ideas on my "Write Me a Letter" Board and I would love for you to send me any pins that you think I might like. I hope you enjoyed my favorites this week, I will be back with more soon! Granola is so easy to make in bulk that it is the perfect little homemade gift. It is perfect for housewarming presents, a hostess gift, a new mom, or even a welcome gift for houseguests. Not only is it eay to make but you can customize it to your tastes or for the reciepient. Not a fan of cinnoman? Leave it out or add a different spice. Want to add some rolled rye or barley, go crazy! Once you've made this recipe, you will start to play with it more and more. We'd love to hear about your combinations so don't be shy, be adventurous! The granola is lightly crunchy on its own but you could add a variety of nuts, dried coconut flakes, or even chocolate (after it has cooled). And depending on the additions it can be eaten with just milk, on yogurt or even on ice cream. Bottom line? We love it this recipe for it's versatility and its simplicity. Enjoy!
|
Archives
November 2019
|


 RSS Feed
Photo used under Creative Commons from emilykneeter
