|
Looking to create a Mood Board? It isn't as hard as you think. I first learned about making mood boards when I was working on rebuilding my catering and event website. I took a course called the Girl's Guide to Web Design and it was given by a friend of a friend, self-paced, and a really good introduction to coding and building a site from concept to launch. {Yes, I recommend it.} 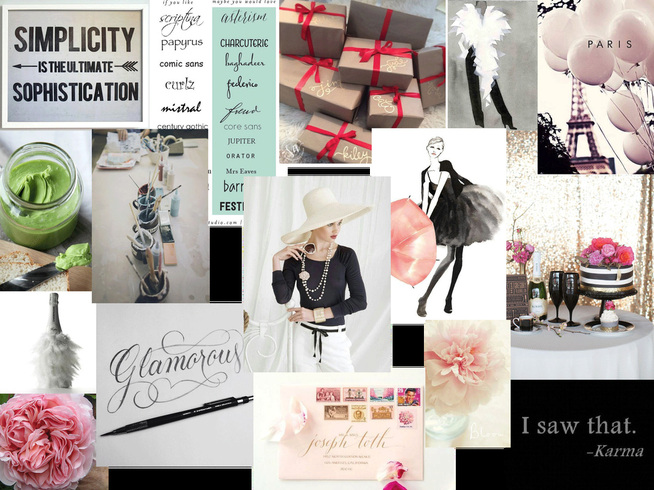 Mood Board for pisatche and rose One of my favorite take aways from the class was the Mood Board, which is a collage of images and text that give a way to define and refine your vision. When I say that it is one of my favorite takeaways, I really mean FAVORITE! I started using them as discussion points for clients, for event guidelines, and for pure graphic delight, whenever the mood hit me. How to Find Images
How to Make a Mood Board There are only three steps to making a mood board.
When I am working on creating a board, I do not just go in search of decorations or photos of other people's events. I try and think about how I want to feel at the event and then I start pinning whatever makes me feel that way. After I have all those photos on one board, I add in some specific decoration, food and drink ideas. At this point there is no judgement, I'm not trying to create a theme in pictures. I am just gathering. Here is what my Pinterest Board looks like. Things to Remember
 It is important to mention that I use these boards only for inspiration. By this time we have all seen and or experienced the Pinterest fails and that is definitely not my intention. I want to be inspired when I start to shop, when I plan the menu, when I design the invitations, and when I talk to my guests about the party. The board above is just my starting point. As the event creeps closer, I will add more pieces. I hope you have fun playing with the mood boards!
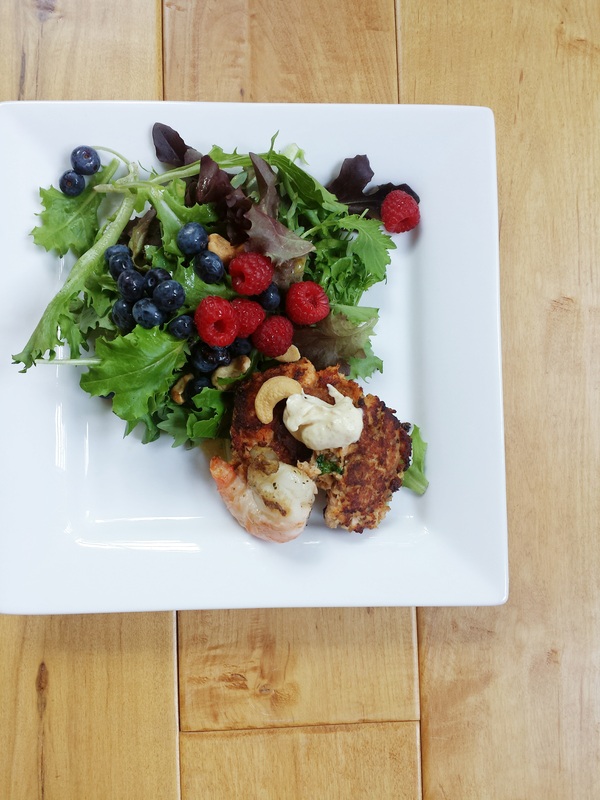
Rose Some of our favorite meals happen on vacation. It must have something to do with the lazy breakfasts and lunches that proceed the lazy dinners. Or maybe we just take a little more time with our meals. 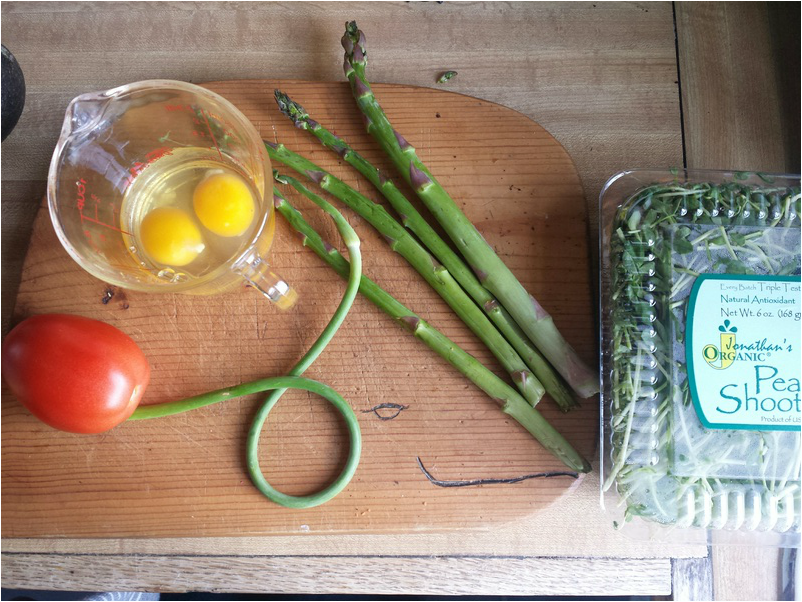 Whatever the case, we enjoyed our recipe free days. We threw together morning omelets. 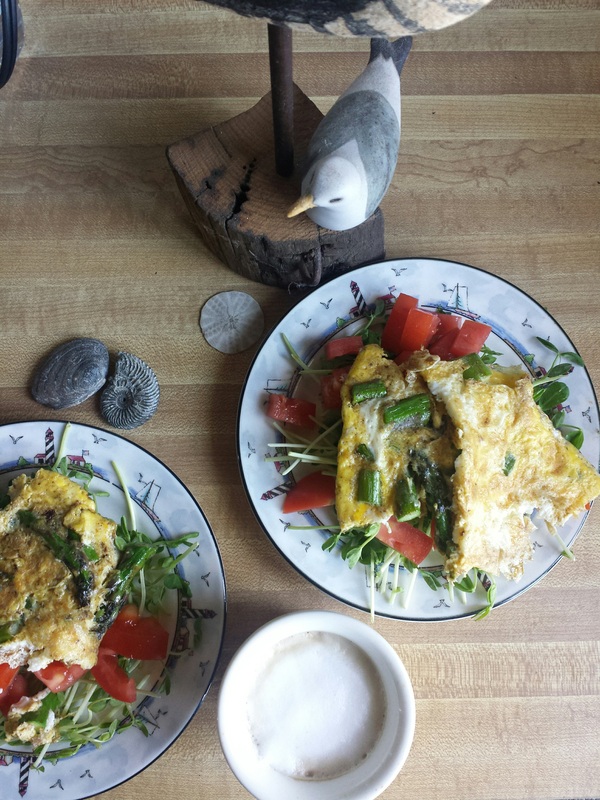
And of course there were the amazing snacks and appetizers! How about you? Do you make your vacation special with a little extra special food?
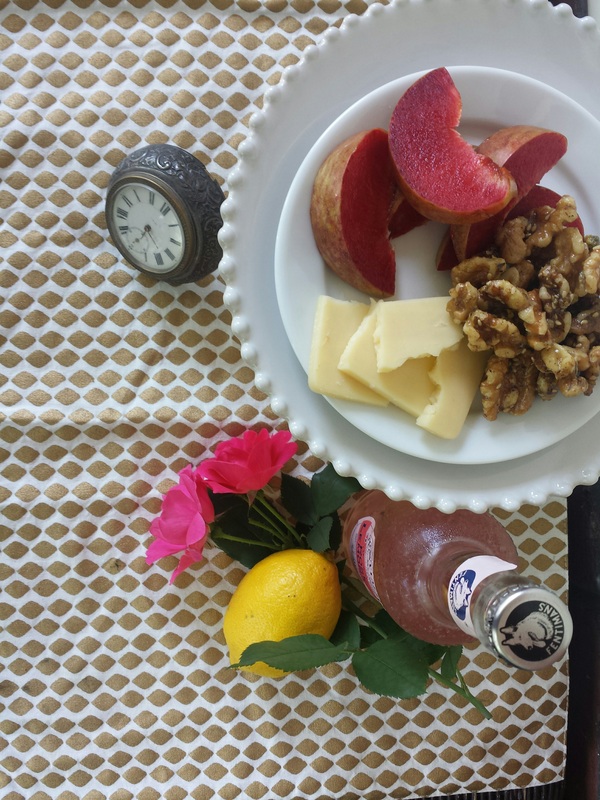
How do you say Thank you for the invitation? In the summer, we are invited to all sort of impromptu dinner parties, visits to cottages, or to stay with distant friends. This is the big social time of the year for us because the winter is, well, cold. Days are long and we can laugh together outside until our gracious hosts remind us that the sun also rises tomorrow. I love giving a token of my appreciation to my friends. Well, I love giving any sort of present. In general, the gift should reflect the person you are giving it to as well as the duration of your stay. The classics are classics for a reason but that doesn't mean you can't put a little twist on them. Simple Gifts
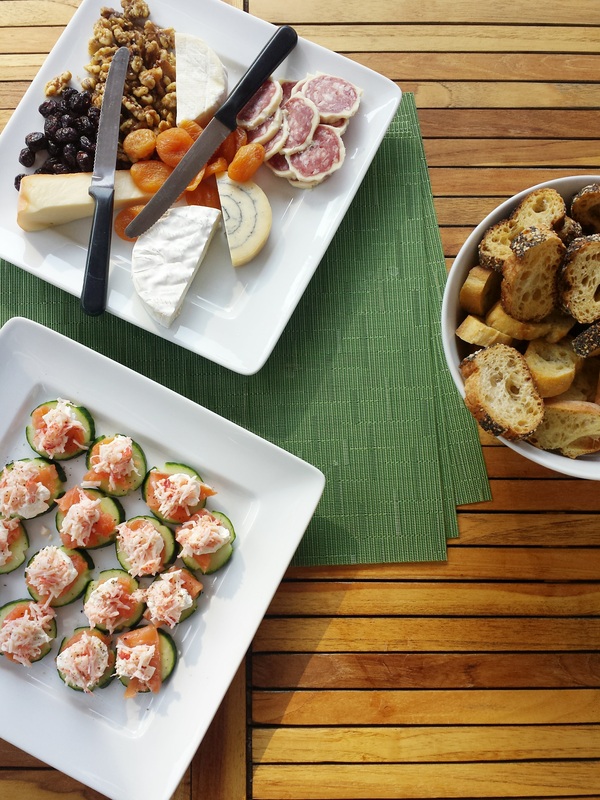
1. For dinner parties, I love to give a nice bottle of wine. When I find a favorite, I stock up so that I am always ready when for any last minute invitations. Summer wine gifts are usually whites or rose. With more robust wines for winter gifts. 2. A little something for after dinner is a nice gift as well. Truffles, specialty chocolates, or salted caramels are always appreciated, especially when paired with an after dinner drink. Or you can go savory by giving cheese with jam and sliced bread. 3. Nice bottles of oil and vinegar is a great hostess gift as well. Traditional combinations like olive oil and balsamic can be renewed by adding a white balsamic or truffle oil. Or you can go out of the box with interesting vinegars, like maple, pomegranate, or cherry. Splendid Gifts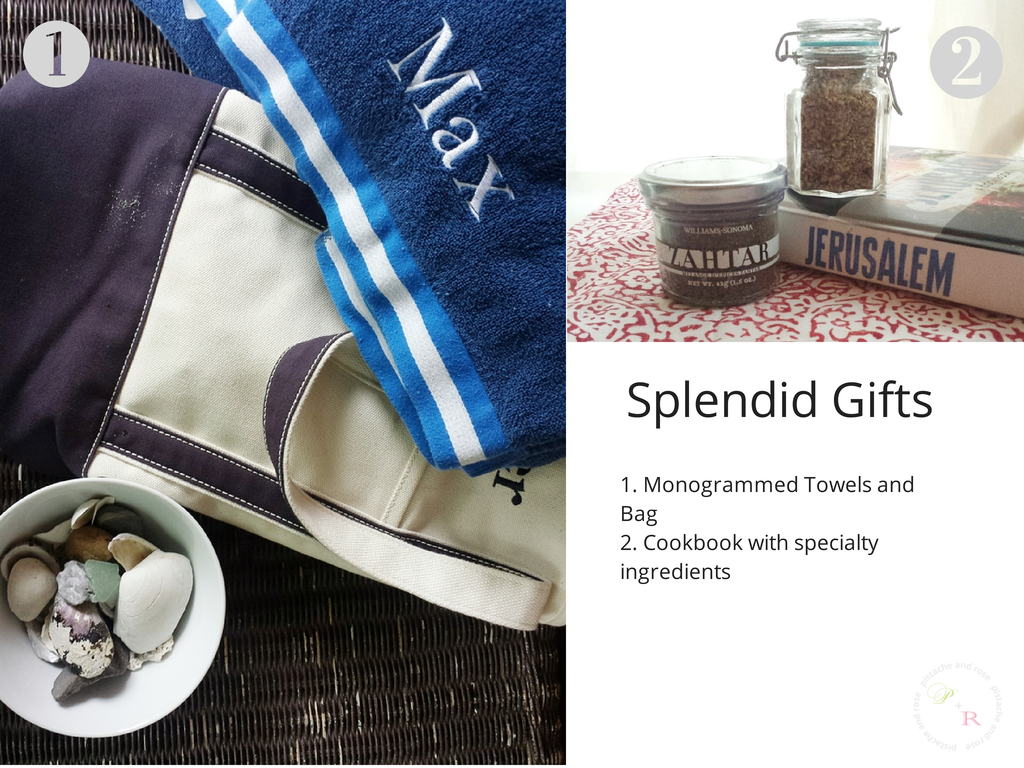
1. When we were invited recently to a friend's cottage, we gave embroidered towels for the family and a beach bag.
2. I also love to give a copy of my favorite cookbook of the moment with some specialty ingredients. Of course, I like to add a hand written note on one of my favorite stationary pieces. What are some of your favorite gifts for your hosts and hostesses? -Rose If you find yourself in need of a last minute appetizer, fear not. You most likely already have the ingredients on hand to make impressive little bites. 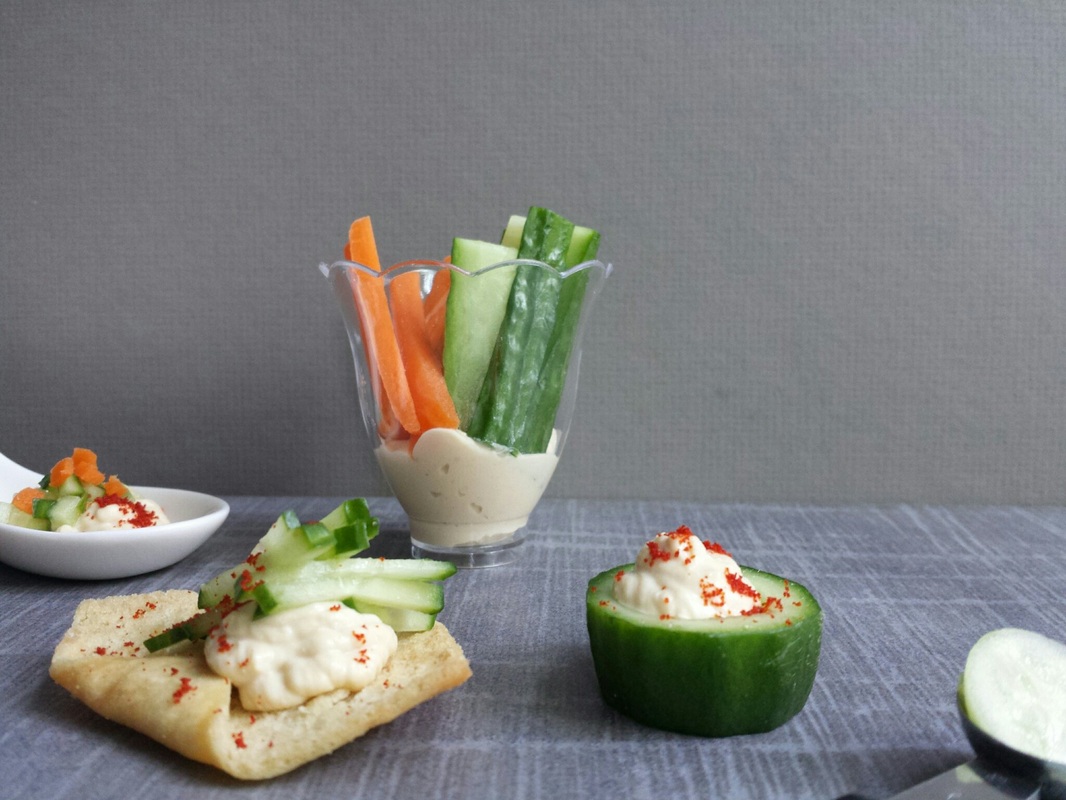
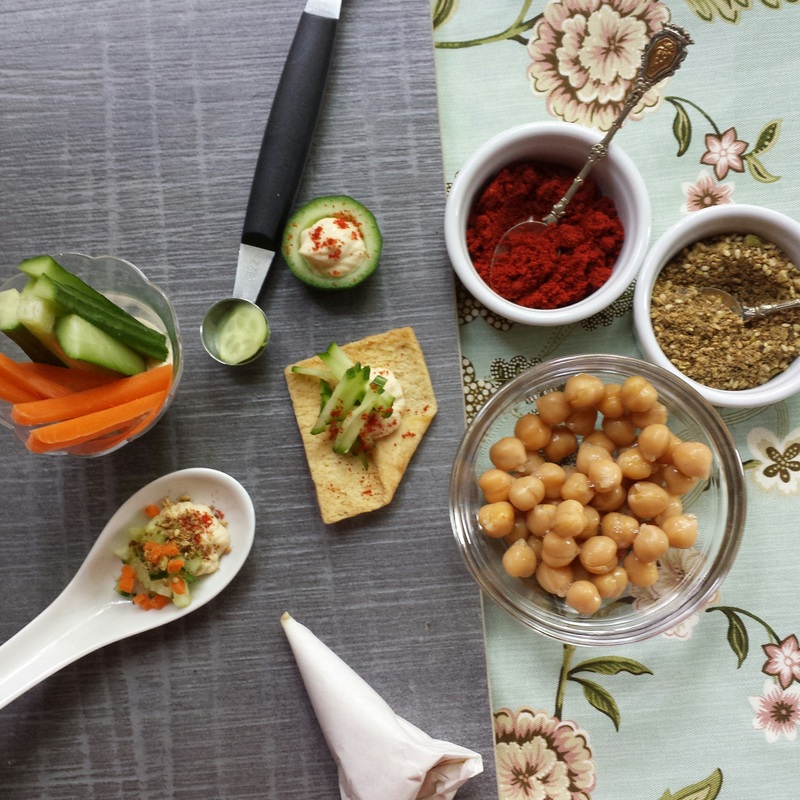 Use a pipping bag to get a more finished look and garnish with smoked paprika, dukka or spiced chickpeas. Just remember - Presentation is Everything {pistache}
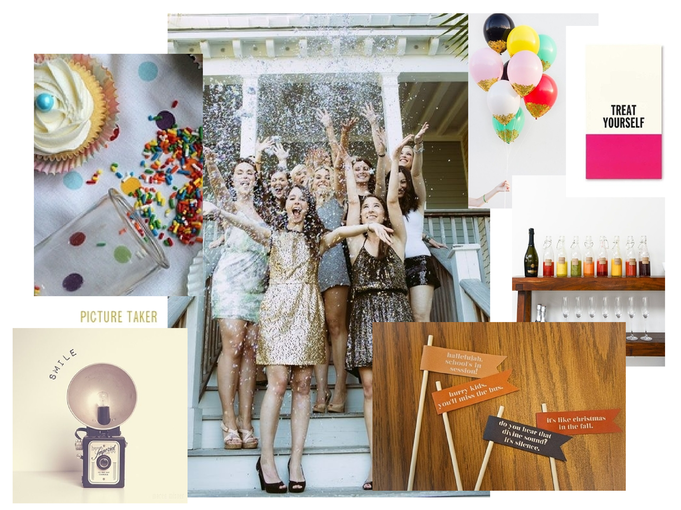
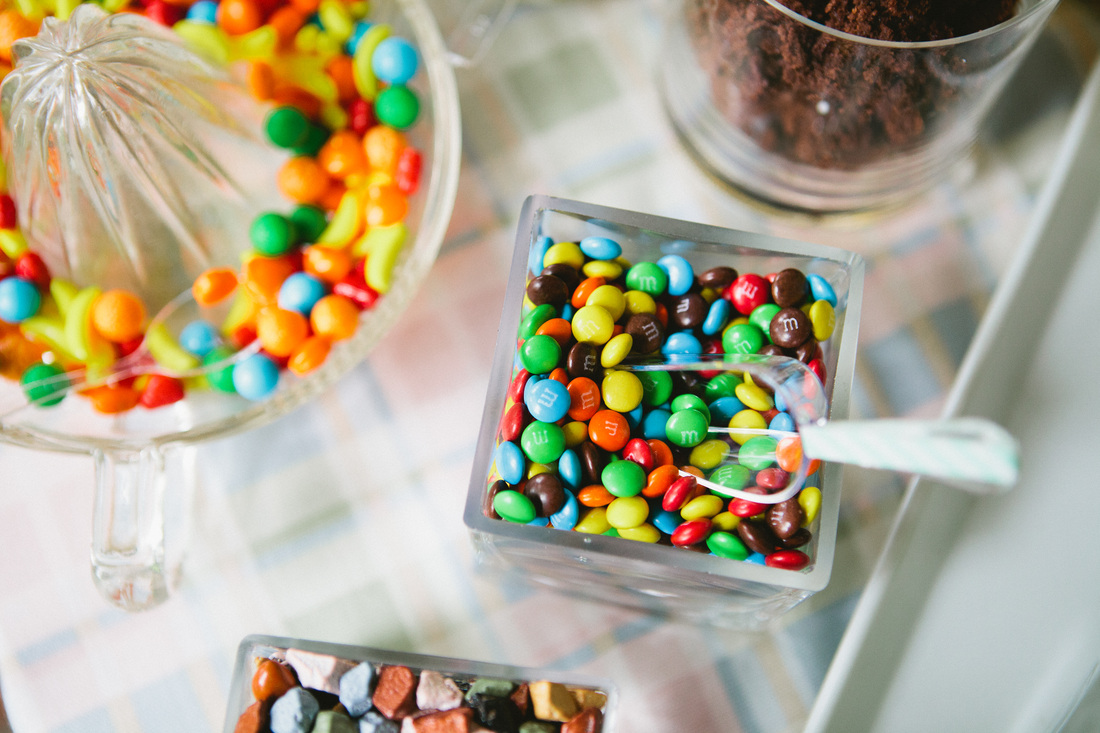
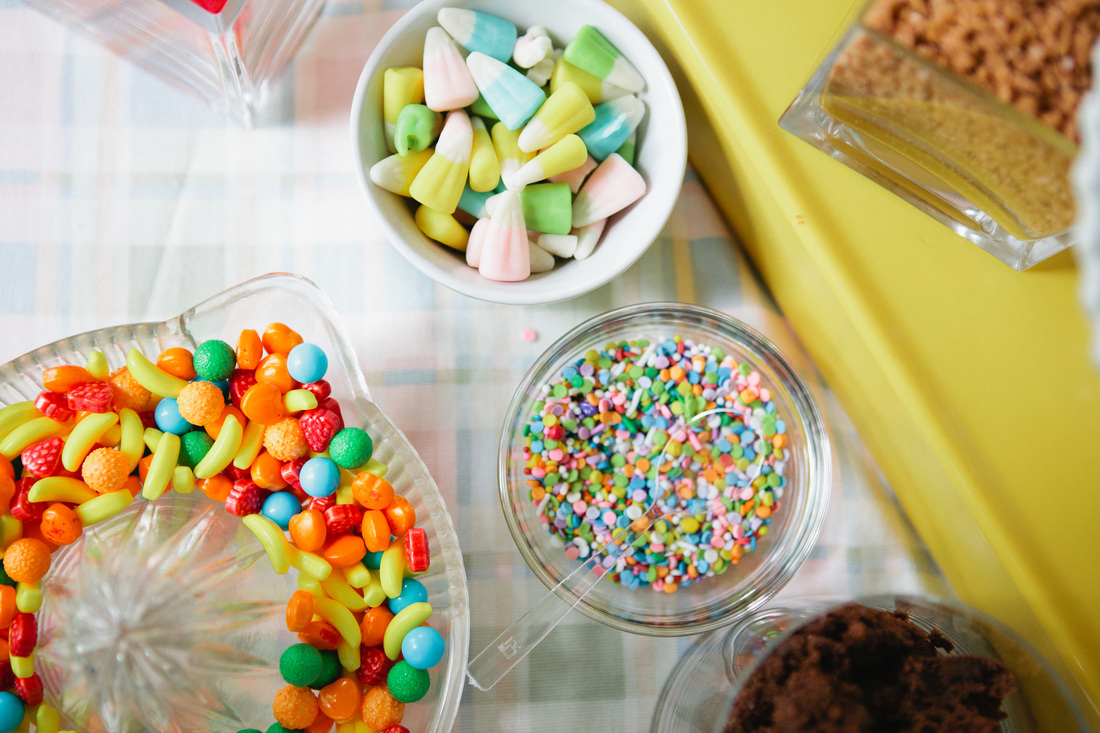
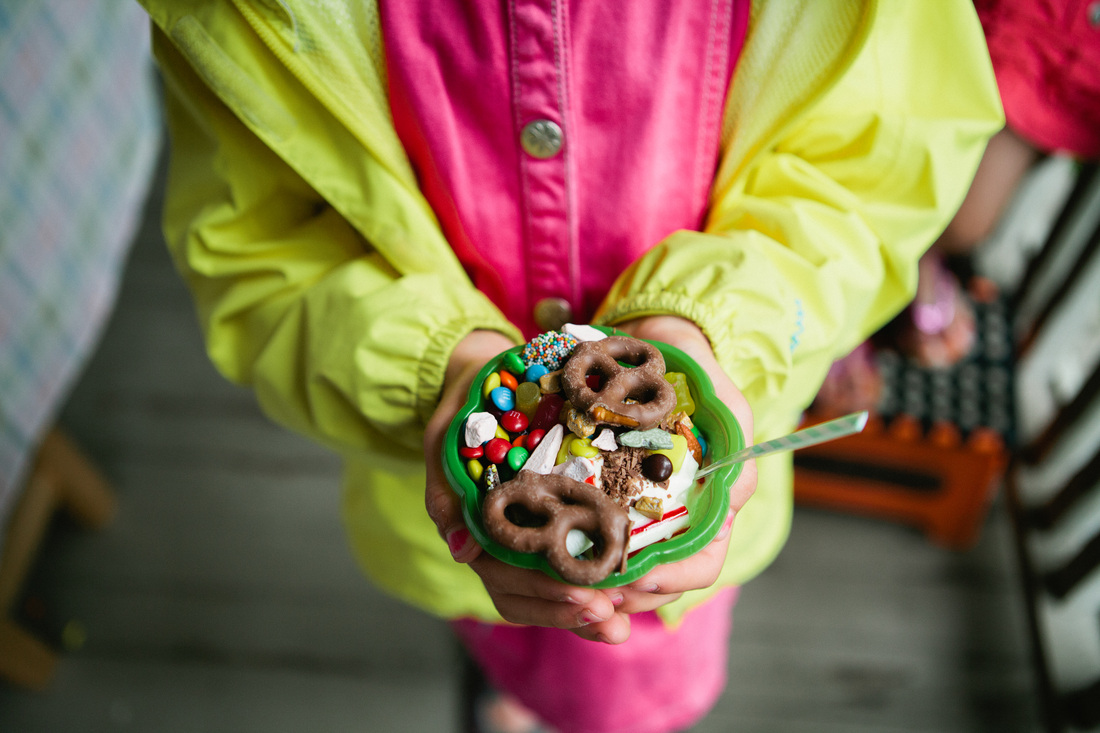
Basic HummusAdapted from Jerusalem by Yotam Ottolenghi and Sami Tamimi Serves 6 3 2/3 cups Chickpeas 1 cup Tahini Paste 4 Tbsp Lemon Juice, freshly squeezed 4 cloves Garlic, crushed 6 ½ Tbsp Water, ice cold Salt Place chickpeas in the food processor and blend until you get a stiff paste. With the machine still running add the tahini, lemon juice, garlic, and 1 ½ tsp salt. Finally, very slowly add the ice water and allow it to mix for about 5 minutes until you have a very smooth and creamy paste. Transfer the hummus to a bowl and cover. Allow it to rest for 30 minutes before serving. If you are not using it right away, place in the refrigerator but allow it to come to room temperature for 30 minutes before serving. I was so lucky to have Elisa Elliot, photographer and master story teller, to record some of the memories of our Ice Cream Social. It is her beautiful work that starts off this post on building a toppings bar and it puts me in the mood to shop for candy! 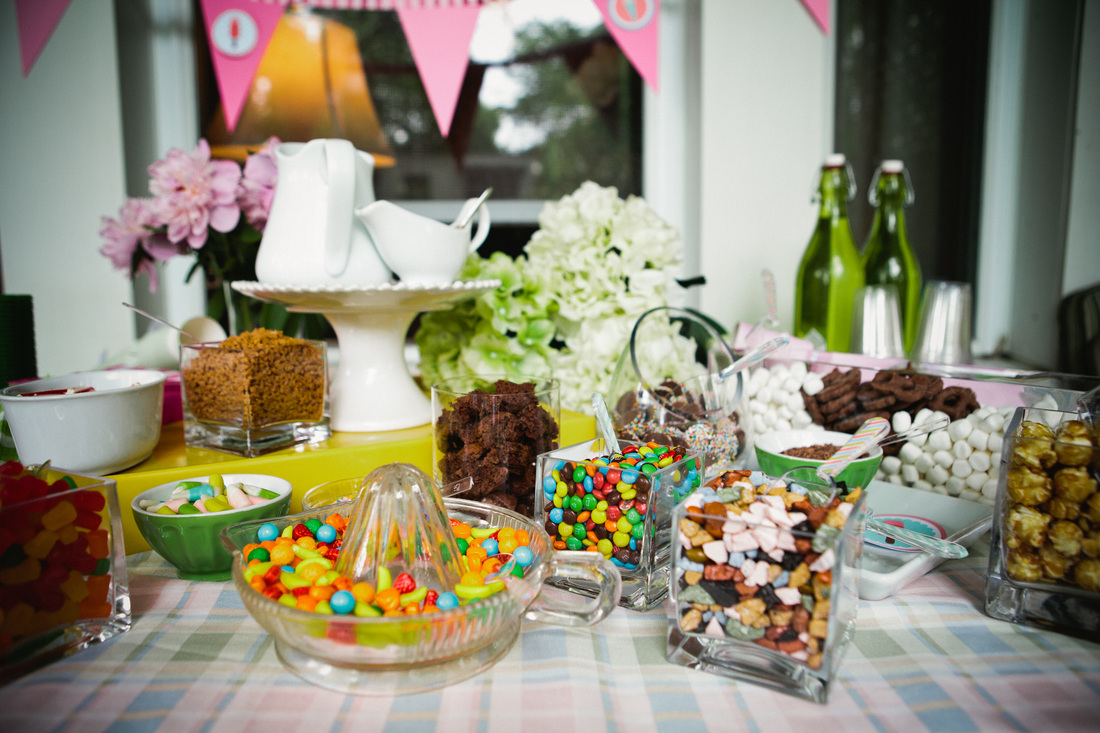
Photo by Elisa Elliot
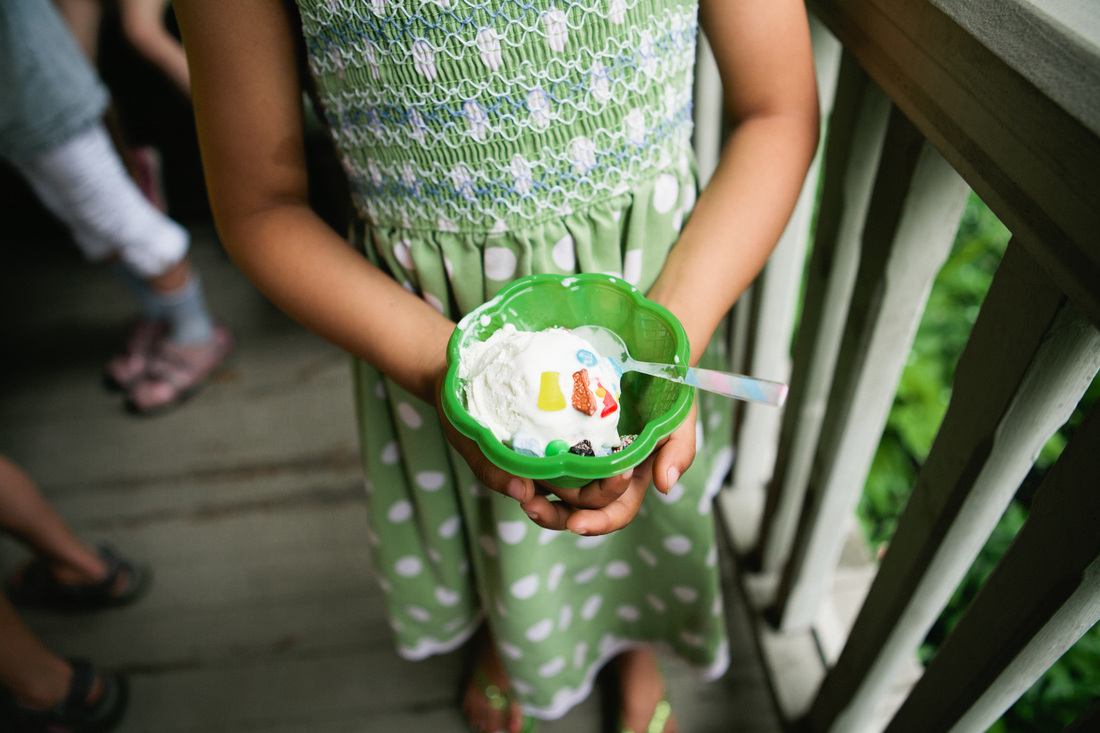
Now if you don't have little people to help you choose the toppings, you will have to tap into your inner child and think of the biggest and best ice cream sundae that could ever be - those are the toppings you want to include.
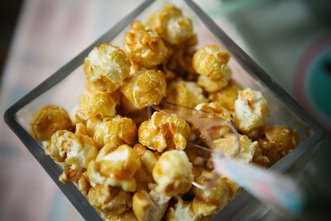
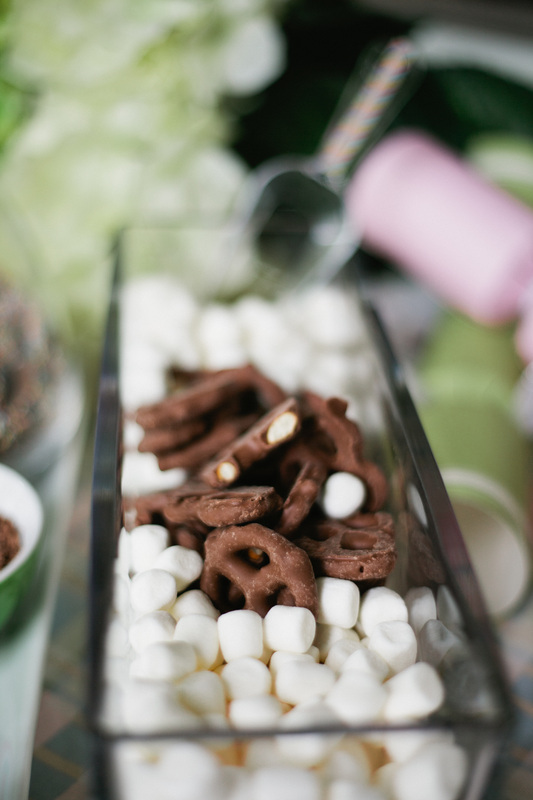
Your bar should include something chocolate, something crunchy, and something sprinkly. How many of each is completely up to you but as they say variety is the spice of life. And of course, there must be chocolate sauce. Feel free to add caramel, strawberry, and pineapple if you want more of a banana split feel. If children are invited I would leave out items that contain nuts. I like to mix purchased and prepared items, so I made the chocolate sauce and brownies but left the Salted Caramel to Genevieve Grandbois (a local chocolatier}. And while you can pick up several things at the local bulk barn, it is nice to have some more sophisticated items as well.
Finally, the fun thing about a bar of any sort is the variety of containers and heights that you use to display your items. I tried to stick with glass and porcelain but played with the shapes of containers that I used from a square vase to a retro lemon juicer. Pistache always says that you eat with your eyes first, so make sure to give the toppings visual appeal. I am including a checklist for your next ice cream social. You just have to print out the invitations from my last post and get to shopping! Click here to download your checklist!
|
Archives
November 2019
|
|||||||||||||||||


 RSS Feed
Photo used under Creative Commons from emilykneeter
