|
Birthday party design can be a challenge, especially for kids. They tend to be set in their ways and only want what their friends like. So even if they have been to 20 Princess parties, there are some little girls who just want a princess at their party too. Well not this little girl! {I mean mom...} 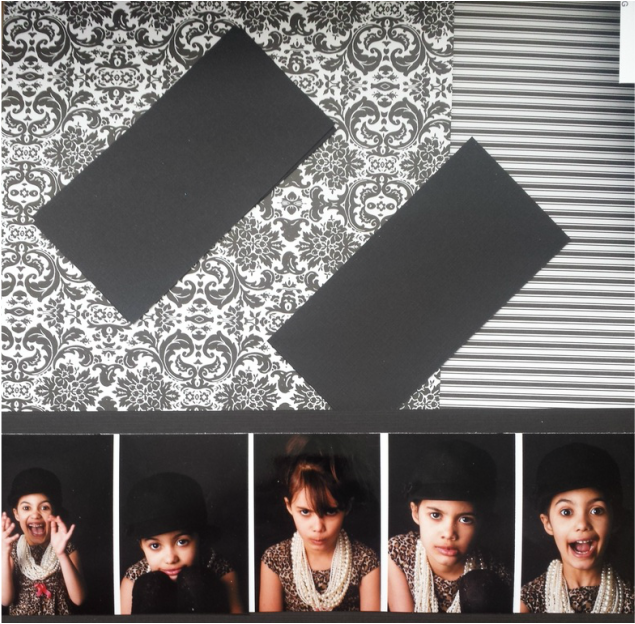 Our son's birthday is half a year away from his little sister's, so they each begin planning as soon as the last guest has left their sibling's party. So Mid-October, someone decided "Fashion" was the theme this year. Up until the planning of the actual event, she was pretty set in her theme. When we got down to what a "Fashion Birthday Party" meant, we had a slight difference of opinion. Theme and Inspiration
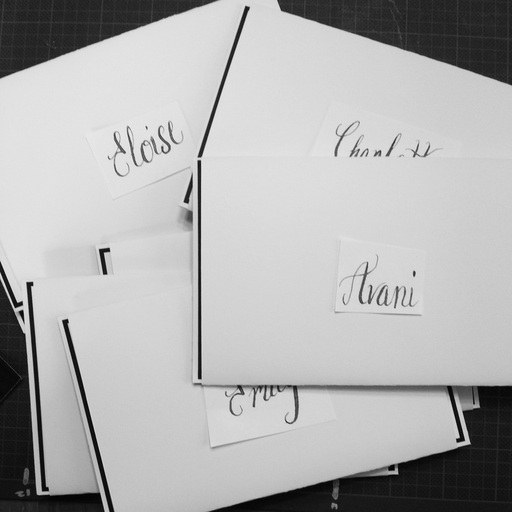
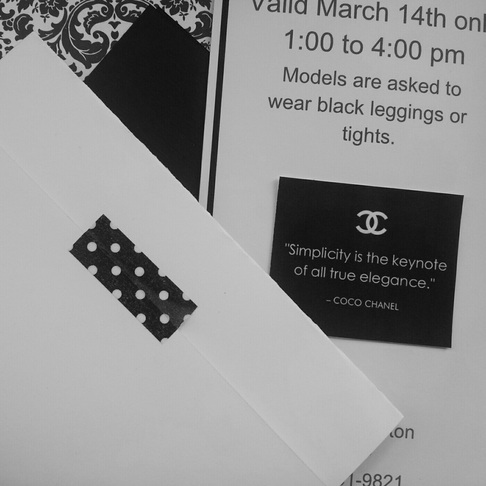
Invitations With a more concrete idea in my head, I start to work on the elements of the event. First, the Invitations. They were inspired by backstage passes that I found but I kept it simple and monochromatic. After all they are really more for the enjoyment of the parents than the children who can barely read. Handwritten names in calligraphy gave the invitations a sophistication. I used a variety of white and black patterned papers on the front of the invitations, that I planned to carry into the decorations. The back was straightforward; when, where and a little what to wear {added to prevent princess costumes}.
Decorations
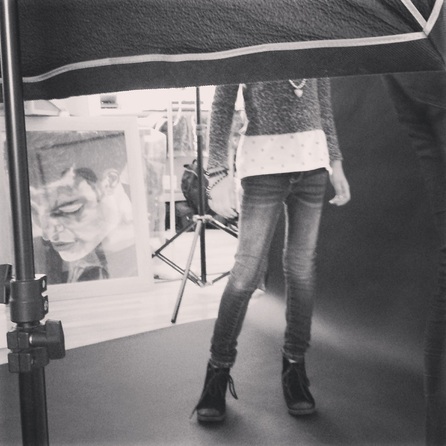
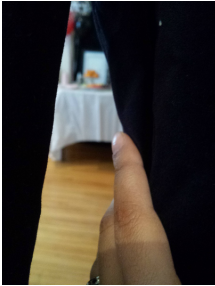
Once the photos were hung, the space began to look more like a studio. Curtains were hung in an archway for the show with a red "carpet" for the girls to walk down. A photographer and mommy "paparazzi" were given a space at the end of the carpet.
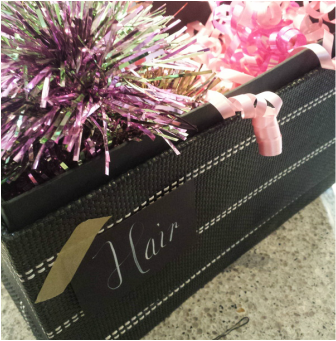
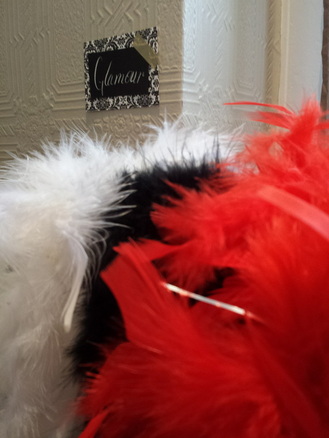
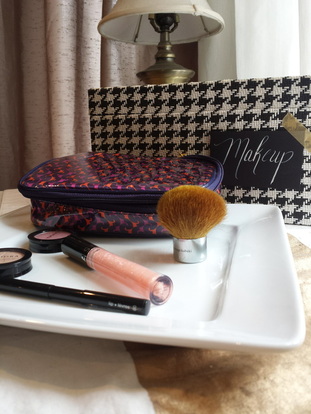
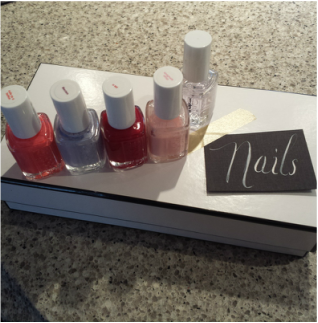
The Main Event Little girls were whisked behind the curtain and their makeovers began. From a little sparkle added to their cheeks and lips, to accessories to spice up their look. We basically turned out dining room into a very large tickle trunk and let the girls play dress up. {Snacks were available throughout} 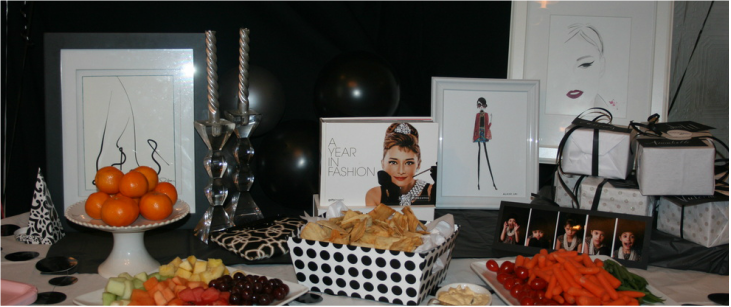 The stations that were set up behind the curtains to get the girls red carpet ready became part of the decor of the event so we kept them to theme in mostly black and white.
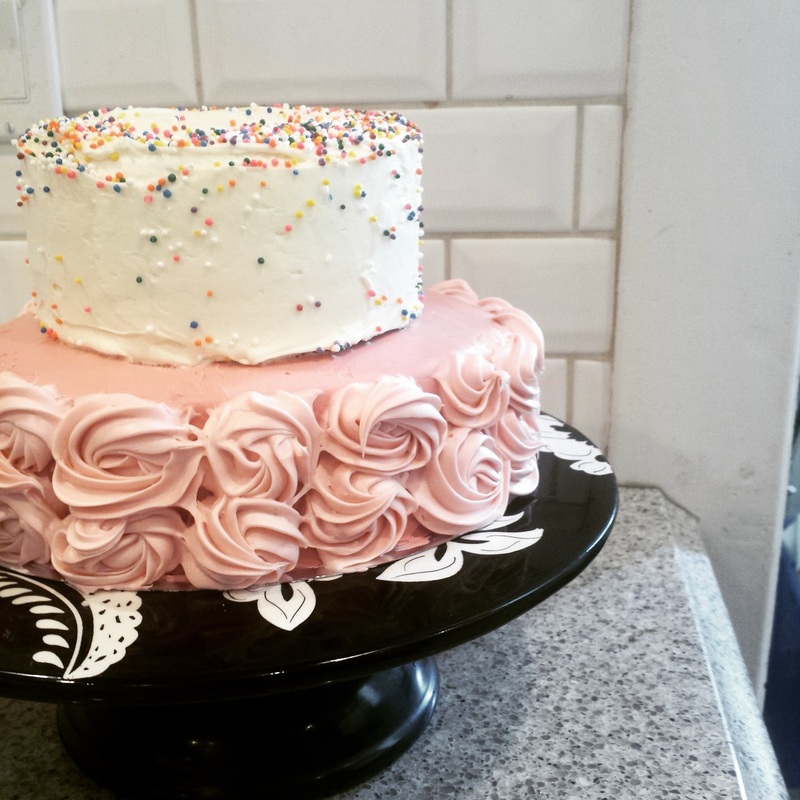
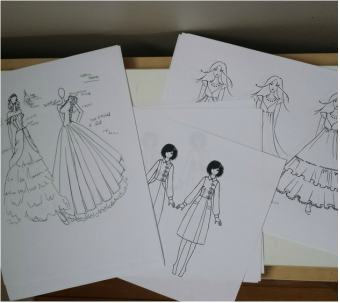
When they were ready, we sent them out to the red carpet and the awaiting paparazzi. {Make sure to take the parents' emails to send photos of their child}. Once the girls were fashioned out, we moved onto the traditional birthday party schedule of events. Presents, cake, and optional craft. The craft was coloring black white drawings of dresses from different eras in fashion.
Final Touches Thank you gifts were filled with cookies and cream cake pops covered in white chocolate and a small square of temporary tattoos {the tiniest bit of Frozen}. They were then individually wrapped in white tissue paper with black ribbon. I really like the idea of a small Thank you gift and wrapping them makes them that much more special. This isn't an event for 30 kids but I would still try and do something special if it were. 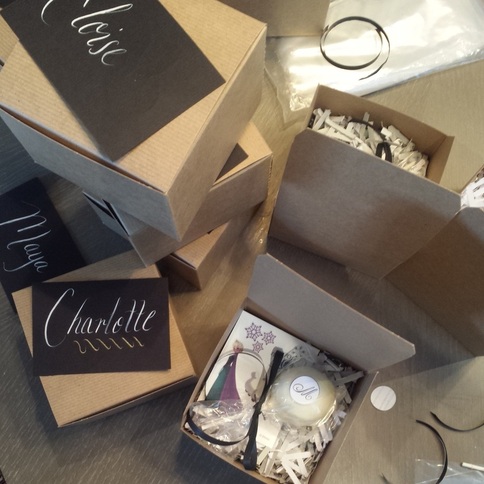 Thank you! While most of the items were handmade by Rose, we are grateful for the help from the moms who helped make the girls glamorous. As with anything many hands make light work and I think that the adults enjoyed the party as much as the girls, which made it a success in my books.
Big Thank you to Genevieve Goyette Photography for the photo shoot and the action shots at the event.  So you have decided on a theme, you've set the date, and organized a guest list. How are you going to get people to your event? Well unless you are doing a major media launch for an obscure brand of shoelace cleaner, you can just send an invitation. {Actually, the shoelace cleaning company would probably send out at least one invitation as well} But how do you send out an invitation these days? Does anyone use paper anymore? Do online invites only work for kids parties or girls' night out? And what do you say exactly? How early should you send them? What if no one responds?!?! I know you know the questions, so let's get to some of the answers! Paper or VirtualThe first thing to consider is your event and your guest list.
Once you have decided whether to send paper or virtual invitations, you can browse through some of my favorite links for each.
Design and Print or Send Maybe the templates just don't do your idea justice. In that case, you can alwasy design your invitation from scratch using an online program like Canva {my fav} and it's custom Wedding invitation Designer. Obviously, you are not limited to wedding invitations and there are lots of fun graphic tutorials to help you refine the look.  WordingYou've decided on a delivery method but what are you going to say? There is some basic information that your guests will need in order to attend your fab event.
*Be sure to set a clear response method and date. And don't be shy to check with people who haven't responded, everyone is busy these days! 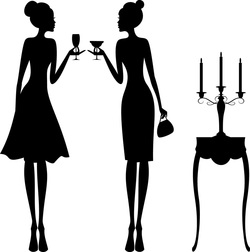 When to SendYou want to give your guests the opportunity to receive and reply to your invitation in time for you to put on a fabulous event. If you are having hand embroidered place cards done for each guest, then you may want some advance notice to who is coming and who will not be attending. For a playdate at the park to get ready to go back to school numbers are not so important.
 And of course, don't forget to Thank your guests after but we will talk about that in another post!
The cheese plate is a reliable presence at many events both big and small. The formula for building a cheese plate is most always the same and includes a variety of cheeses, something sweet and something savory, and bread or hard fruit on which to eat your cheese. Wine is also a requirement at my events. To build a cheese plate you only really need three things; cheese, accompaniments, and a plate. 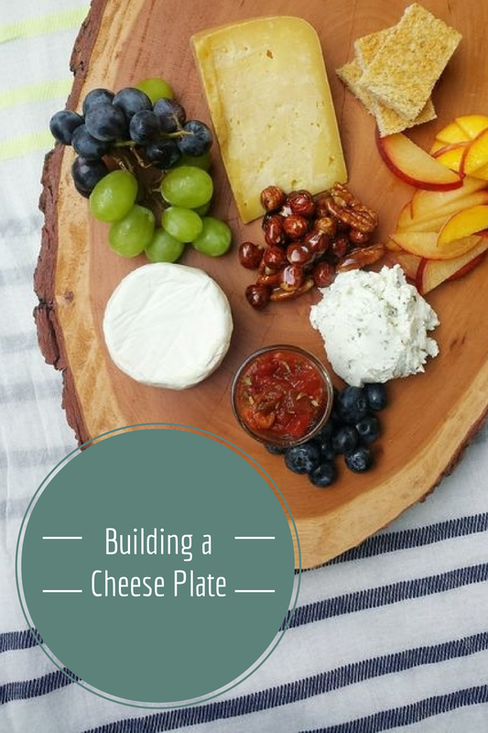 CheeseTo build a balanced cheese plate, you want to include a medium-hard cheese {like manchego}, a soft cheese {like camembert}, a goat cheese {like herbed chevre}, and either a sassy cheese {like roqefort} or a hard cheese {like parmigiano}. This gives you a nice range of textures. If you are planning a smaller plate, try to have a minimum of two different styles of cheese. On my vacation to Michigan I was fortunate enough to tour and taste the cheeses from Evergreen Lane Creamery. This lovely farm is home to hand-crafted artisan cheeses made from goat and cow's milks. After tasting the five varieties, we settled on of their cheeses - The Garden Herb Chevre {with parsley, lovage, and chives}, The Tribute Tomme {named after the owner's prized goat}, and April Showers {a camembert style tomme made from cow's milk} 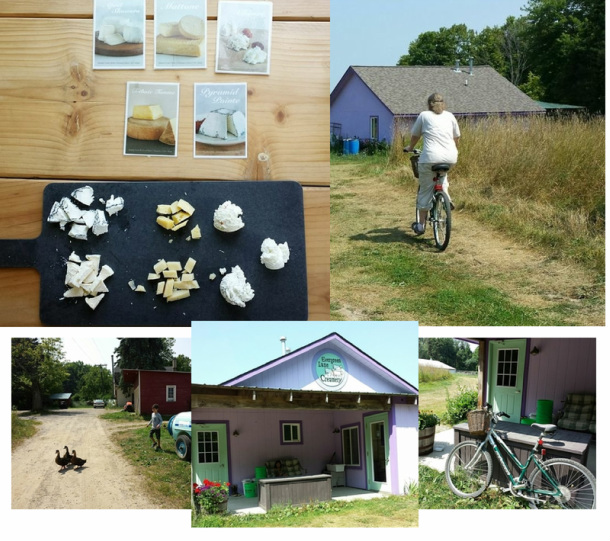 AccompanimentsThe next thing to think about is what will accompany your cheese. I tend to include fresh fruits, nuts, croutons, and a savory jam. In the summer fresh seasonal fruits are my preference. Since I am in Michigan, I included blueberries, peaches, pluots or plums, and grapes. During the winter, I would include dried fruits like apricots and cherries along with apples and pears. Nuts can be simply roasted with a bit or salt or glazed with maple or spiced with shallots and rosemary. Pistache loves to make nuts with maple and dukkah {recipe below}. Along with fruits, I will include savory jams, chutneys, conserves or salsa. This is not a must but it adds another dimension to the plate. Balsamic Onion jam, Chipotle Peach Salsa, or Mango Chutney are my favorites but test out whatever you have on hand. Finally you need something to put your lovely creation on. Toasts, crackers, baguette or ciabatta will all do nicely.  PlatesMy cheese plates tend to turn into cheese platters but either way I have to put it on something. A large platter works well but it can be fun to try out a different material depending on the occasion. For our cottage plate, I used a large piece of wood {untreated}. 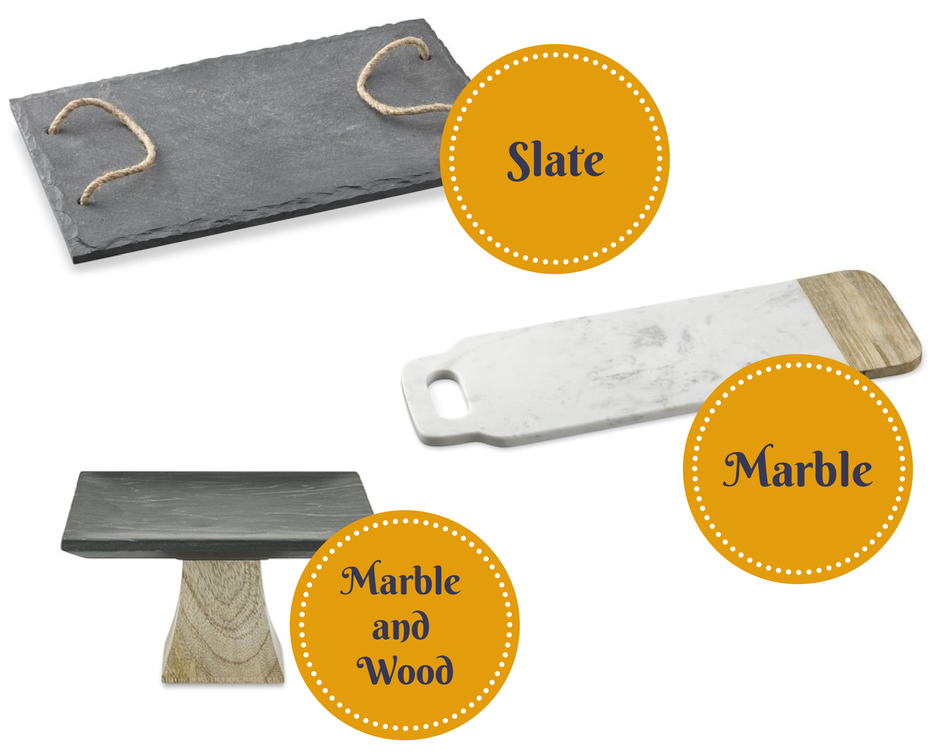 The more interesting the material, the more interesting the final look. The above plates are from the Williams-Sonoma new wine country series. But all you really need to build a fabulous cheese plate is a food safe surface that is large enough to hold your cheeses and accompaniments. Spiced NutsTo make 1 cup of spiced nuts 1 cup nuts of your choice 1 Tbsp oil {I use coconut oil or butter} 1 Tbsp maple syrup 1 to 2 Tbsp of spice of your choice {cinnamon, dukkah, garam masala, etc.} Spray a piece of aluminum foil lightly with oil. Heat oil and maple until boiling. Allow to boil for 2 minutes and then pour over nuts. {The mixture will be very HOT!} Stir the nuts and add the spice. Stir again. Allow to cool on aluminum foil and use as needed. If you don't eat them all, they can be stored in a cool and dry area, in an air tight container for about 4 days. Nuts can also be enjoyed in salads or by the handful. Enjoy!
- pistache and rose Looking to create a Mood Board? It isn't as hard as you think. I first learned about making mood boards when I was working on rebuilding my catering and event website. I took a course called the Girl's Guide to Web Design and it was given by a friend of a friend, self-paced, and a really good introduction to coding and building a site from concept to launch. {Yes, I recommend it.} 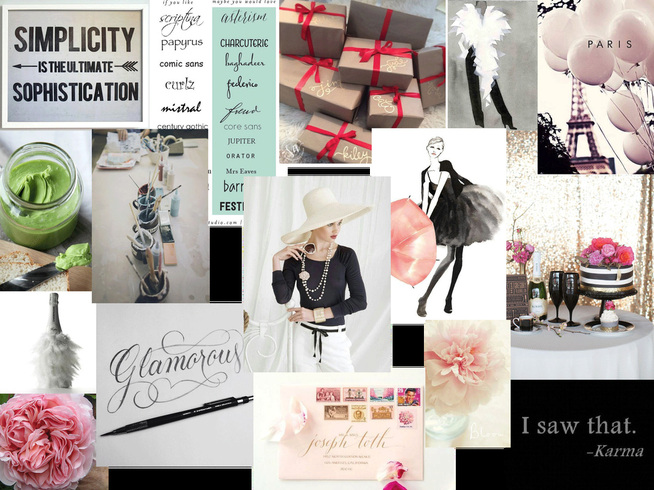 Mood Board for pisatche and rose One of my favorite take aways from the class was the Mood Board, which is a collage of images and text that give a way to define and refine your vision. When I say that it is one of my favorite takeaways, I really mean FAVORITE! I started using them as discussion points for clients, for event guidelines, and for pure graphic delight, whenever the mood hit me. How to Find Images
How to Make a Mood Board There are only three steps to making a mood board.
When I am working on creating a board, I do not just go in search of decorations or photos of other people's events. I try and think about how I want to feel at the event and then I start pinning whatever makes me feel that way. After I have all those photos on one board, I add in some specific decoration, food and drink ideas. At this point there is no judgement, I'm not trying to create a theme in pictures. I am just gathering. Here is what my Pinterest Board looks like. Things to Remember
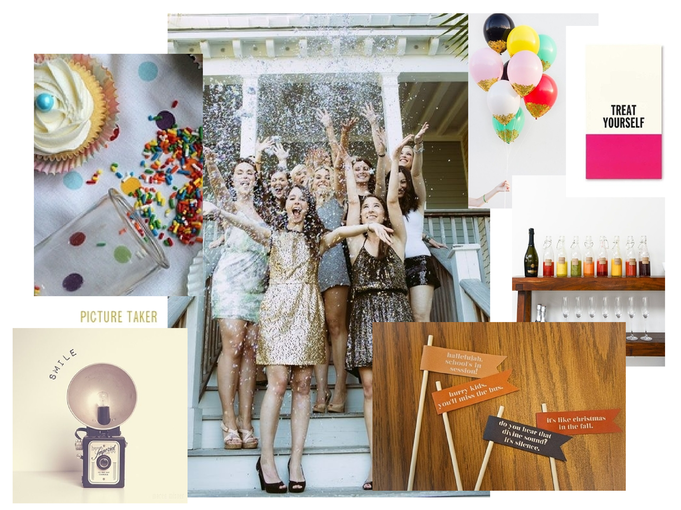 It is important to mention that I use these boards only for inspiration. By this time we have all seen and or experienced the Pinterest fails and that is definitely not my intention. I want to be inspired when I start to shop, when I plan the menu, when I design the invitations, and when I talk to my guests about the party. The board above is just my starting point. As the event creeps closer, I will add more pieces. I hope you have fun playing with the mood boards!
Rose |
Archives
November 2019
|
 RSS Feed
Photo used under Creative Commons from emilykneeter
